Hi! It's Christine here from iamcocoa'smom.blogspot.com with my latest Explore adventure!
Here in the PNW it feels almost like T-shirt weather! I've been
reading up, watching videos and taking a class on using vinyl so that I
can make cute T-shirts for my family. Here are my 'notes to self ' and a
picture of my very first finished shirt.
*
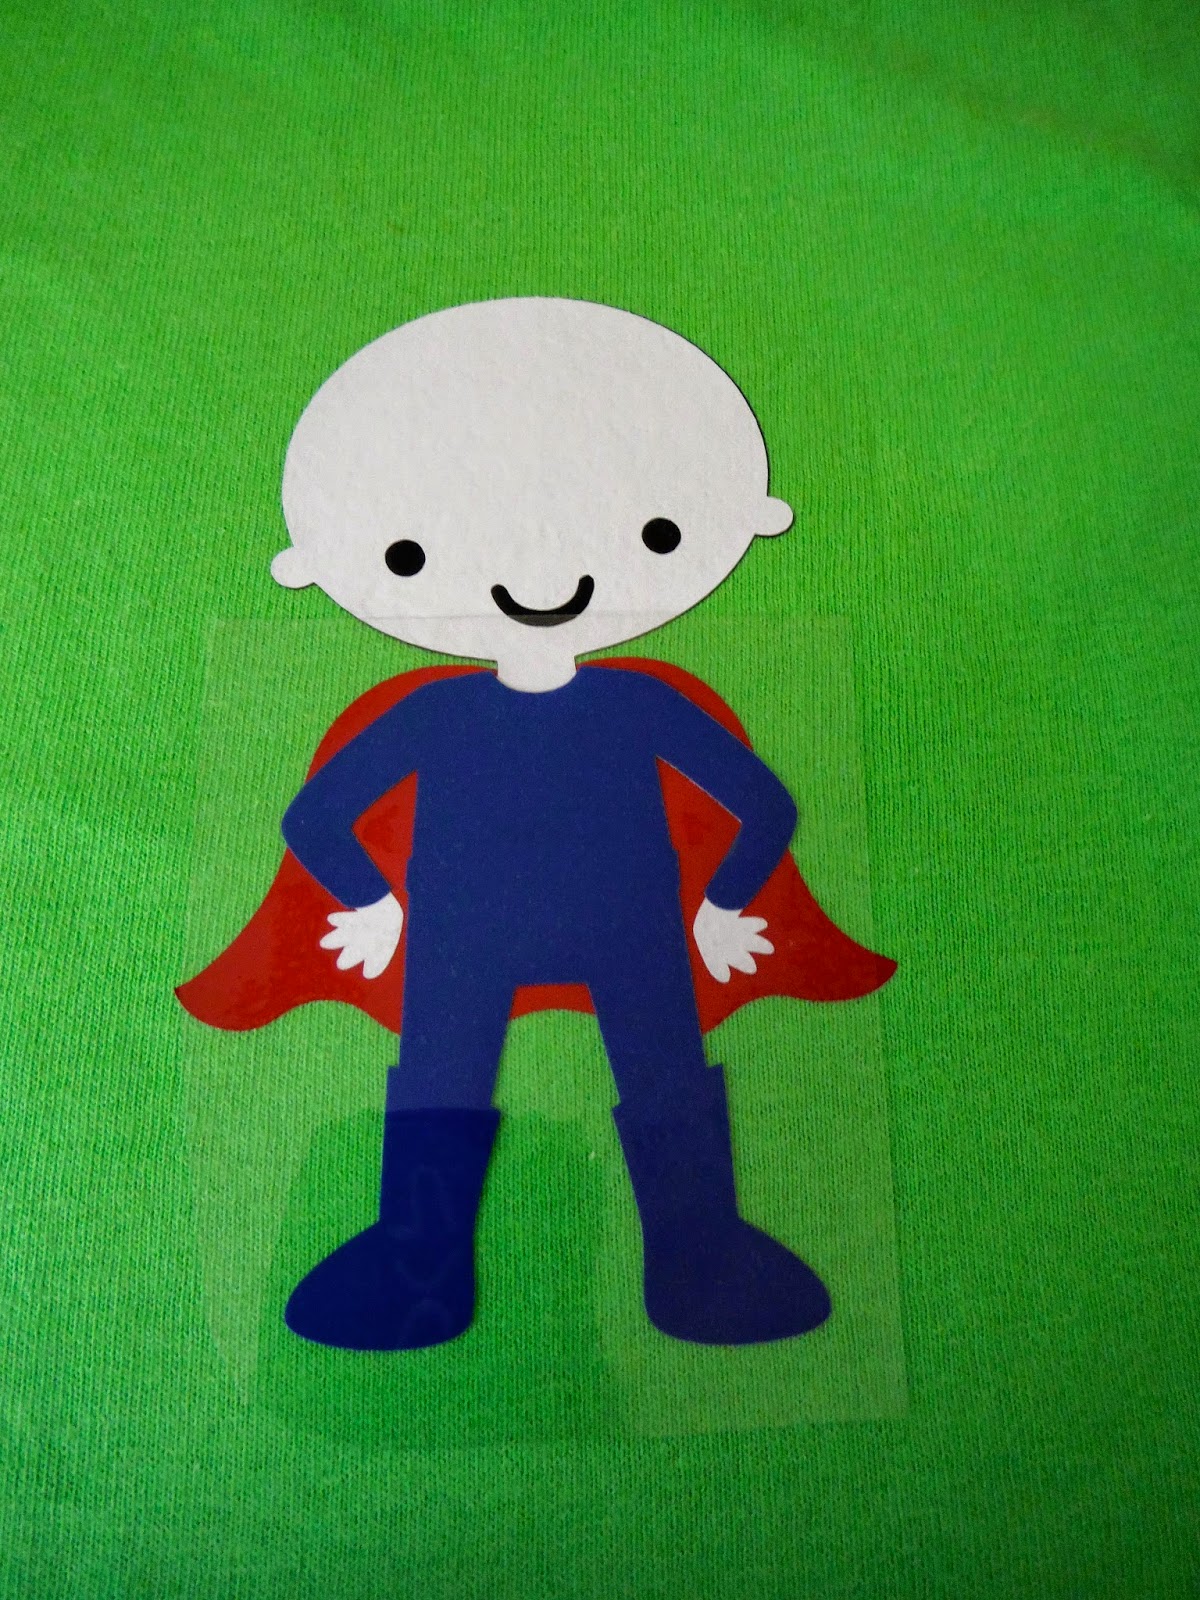
Heat Transfer Vinyl SHRINKS! Choose a design with as few layers as
possible. This Create-a-Friend character has 2 full length body
layers, and one layer with everything except the head. Beneath the
yellow boots lie layers of black, skin tone, blue, and a second layer of
black - none of which shrank at the same rate. See?
Don't forget that Design Space has a T-shirt shaped canvas that really helps when laying out a design.
* The iron - on setting is on the dial NOT in the custom menu! (No need to explain the reason for this note to self!)
* Mirror every mat BEFORE messing around with the placement of the cuts.
*
With HTV, the shiny, carrier side goes on the mat. The Explore cuts
through the vinyl but leaves the carrier side intact. Even if it's not
the same color, put the shiny side down on the mat.
* Trim the vinyl around the cut to make it easier to layer your cuts on the T-shirt.
*
The carrier is sticky so weed out the unwanted bits like the eyes or
the middle of the letters before pulling off the rest of the vinyl. (I
only managed to remember to do this once and had to take a picture 'cos I
might never remember again!)
*
The sticky carrier makes it easy, peasy to layer the vinyl, but
remember it SHRINKS! Layer from the bottom upwards and the cape goes on
FIRST.
*
Decrease pressing time for bottom layers, but give everything a good
press through the pressing cloth when the final layer is attached.
So, when I finished the shirt for Master J, I immediately ordered more vinyl from ExpressionsVinyl.com!
I had some red and black scraps left over and I cut out a ladybird that
I adhered over a spaghetti sauce stain on a favorite shirt of mine.
It's wearable again and very cute! I am hooked.
Thanks for visiting with me today. : )
Subscribe to:
Post Comments (Atom)


7 comments:
The vinyl shrinks when, as you're cutting, as you're ironing or after you wash the item? Here I was getting ready to perhaps do my first iron-on vinyl - now I'm more anxious.
Sorry, Charlotte! As you are ironing the pieces multiple times when you layer, the vinyl shrinks. It wasn't at all noticeable on my two layer ladybug, but Captain Chaos' boots - aghh! : )
This is awesome. I didn't even know there was iron on vinyl. Look how cute it is. Every little boy would love a shirt like that. Thank you for sharing this today on She's A Sassy Lady!
What I have found it is shrinks worse on a shirt that has a lot of "stretch or give" to it. It shrinks, yes, but it's markedly worse on those types of shirts. Your project is super cute!!
Very cute project! Sometimes using a block out method works best when using multiple layers.
OMG Your T-shirt turned out amazing I love it....You really did outstanding super creative job. YOU ROCK!!
The only iron on project I did was the one that came in the Cricut Kit to cut a design and iron it on the Explore Carry case and it turned out awesome I was nervous but it was fun.
Thanks for your awesome receipe!!
YOU ROCK!!
Love the ladybug idea. You are brave to try so many layers with the shrinking effect in, well, "effect", ha-ha! Great results! Thanks for the step-by-step and detailed notes. Does this work on an older Cricut machine? I'm stubborn and won't buy a new one.
Post a Comment