I hope you are having a great Labor Day!! Lori here from
ScrappinMyStressAway with a Sassy A! My kitchen has red walls and black appliances so I made this to display on top of my cupboards.
I started out with this wooden "A" from JoAnns. I liked it because it is a little sassy.
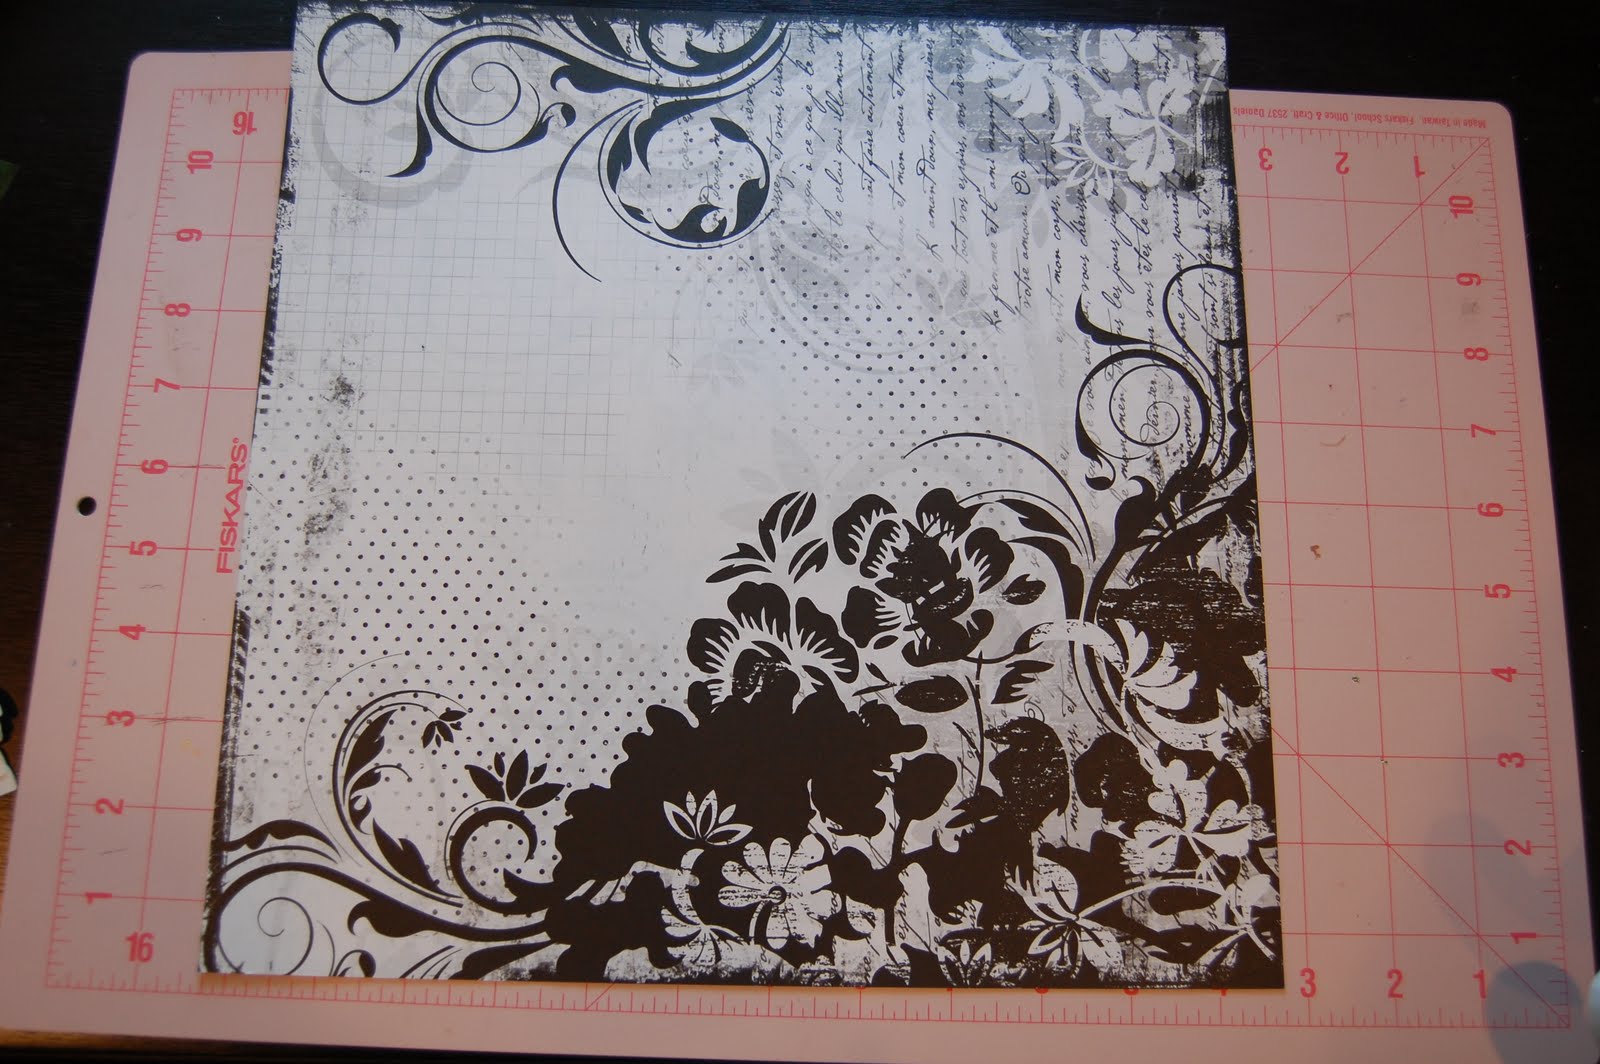
I took this paper from Creative Memories because I liked the pattern.
I turned the paper and the "A" over and traced the letter on the paper. I lined it up so the "A" would be covered in the floral (black) part of the paper.
Here is what it looks like cut out. I used my ATG gun to adhere the paper to the letter.
I put some flowers from Mother's Day Bouquet on my mat. I cut three out at 2.67w x 2.50h.
I cut out three of these at 2.04w x 1.94h.
I cut out three of these at 1.05w x 1h.
I cut out five of these at 1.05w x 1h. I ended up not using them though.
Here is my Gypsy screen shot.
I cut the flowers out in red card stock.
I used black StazOn ink to ink the edges of my letter and flowers.
This is the fun part! I crinkle the flowers and bend the tips up.
I use my Cricut Dental Tool to poke the flowers in the center.
I layered the flowers together and curled up the ends.
I used a black brad to secure the flower.
I used a couple of glue dots to secure the flower to my A.
Thanks for having me over to play Sheila!!!


11 comments:
Love your beautiful flower!!
Great instructions! Your finished project is beautiful! I'm thinking zebra print & hot pink for my tween. :-)
I love the letter "A". This is so cute and sassy. :)
I love your decorated A. I want to make the word 'READ' for my classroom.
Brenda
Lori, saw this on your blog this morning!!! Love it! Well done, my friend!!!
Bet it's going to look really nice in your kitchen!!!
That came out gorgeous. What a nice way to add home decor to your home, I love those wooden letters. Love that flower.
Lori, this is just beautiful and your instructions are so easy to follow. What a wonderful home decor item this will be. Love the colors and the flower is just the perfect tough. Thanks for sharing with us today.
Absolutely gorgeous
Great job, Lori!!!! LOVE how this turned out...thanks for sharing!
Great job. How did you apply the stazon to the edges. I see a tool, but I can't make out what it is.
marilyn2222 @ hotmail.com
Super pretty Lori! love it!
Post a Comment