


I'm very excited about today's project because it was a total shock to me and something I happened to stumble on by sheer accident! I was actually making a pop-up card and my mind just ventured elsewhere to come up with something totally different. This is why I love to play; sometimes the results are just too amazing!!!
I'd still like to call my project a card (just not really a pop-up as initially intended), and although there are places to hold small photos, pockets with tucked away tags, room for some journaling, to me it's still just a fun card! You can call it a mini if you want but as my creatiion, I'm referring to it as a card... LOL!!!
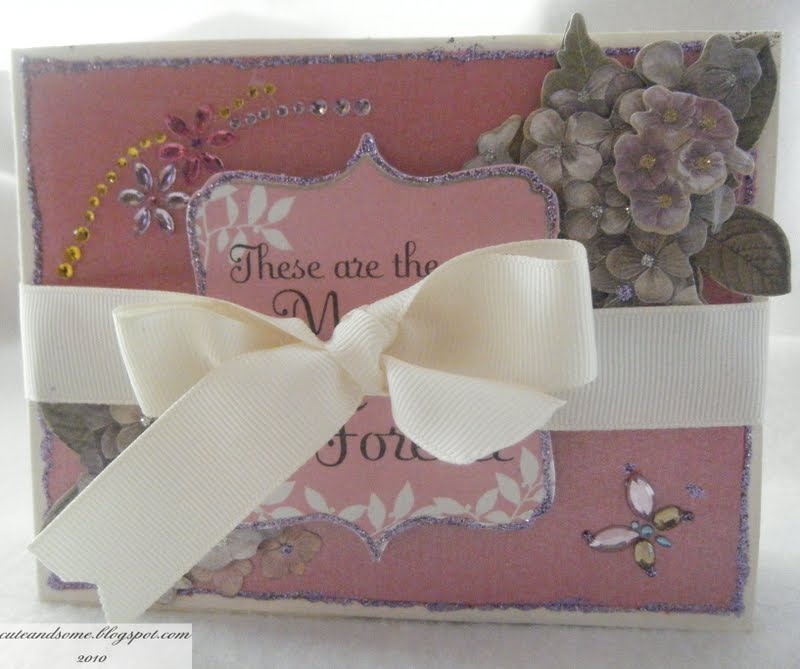
You may as well get comfortable because as I want to show you as many "nooks and crannies" of my "card"as possible, and because there's no cutfile, this is going to be a pretty picture heavy and lengthy post. I preferred not to do a cut-file at this time because this is really a quick, simple to do and cut card. Besides so many of you do not own the George cart which is what I use on the majority of my cutfiles anyway, so ... let's get busy with your scoreboards and paper cutters!!! I'll start off with a tour and several views of this card project from the cover through all pages. At any time, please feel free to to click on any picture to enlarge it:


Okay, now I'll show you how to make your own! You'll need 4 and 1/2 sheets of 8.50" x 11 cardstock: 2 for the base card, 1 decorative sheet cardstock for the base card inside panels; 1/2 complementary color card stock sheet for front and back cover; and, (optional step) 1- 8.50" x 11" sheet for the inside pop-out panels. To begin:
Base card: Cut each of the 2 sheets of cardstock in half (you will end up having 4 -11" x 5:50" panels); score 2 of the 1/2 cardstock sheets down the center with the 11" side across the top of the scoreboard at 5.50"; score the remaining 2 halves, with the 11" side also across the scoreboard at 2.75", 5.50", and 8.25".
Base card inside panels: score 8.50" x 11" cardstock, with 11" side across the top of scoreboard at 2.75", 5.50", and 8.25"; turn paper with 8.50" side across top of scoreboard, and score at 4.25". Cut along each score line to end up with 8 panel sections.
You should now have this:

Fold each of the 4 base cards along the score lines to have this:

Take one 1/2 fold base card and one of the base cards folded into 4 sections; turn the panel scored into 4 sections over (mountain side folds up), add glue to first left-side section making certain to get good glue coverage along the edges:

Adhere this section along the "left-hand" side of the base card up to and along the score line, making certain the top/bottom edges are evenly aligned:

This next step has already been down on the above picture sample but you'll add glue to the right outer section, and align and adhere to the center score line on the "right-hand" side of the base card. In other words to simplify, you'll add the first right section of the 4 section panel to the right side of the base card along the center scoreline, and the left outer 4 section panel to the left side of the center scoreline of the base card -- right to right, left to left -- got it?!!! LOL!
At this point, close up your card and smooth it down with a roller or bone-folder to make certain it closes smoothly.
Next complete these same steps above to complete the second base card to have this:

Now, taking the backside of one base card align and evenly adhere it to the front of the other base card. You'll now have this:


Phew! We're almost done! If you want to add a ribbon or some other closure that needs to be hidden beneath the cover panels, now is the time to do that:


All that's left to do now is for you to decorate and embellish it any way you like, for any occassion you'd like it for!!!
I truly hope you enjoyed my "accident" card... lol!!! And if you should have any questions at all, please just click on my name at the top of this post to be directly linked to my blog where you can leave me a comment. I promise to get back to you!!!
Thanks so much for taking the time to drop by; I always appreciate and enjoy your company!!!
I'll be back next month, so...
I'll be seeing you!


20 comments:
Gorgeous detail Audrey. Love that paper and the pretty colors too. :)
Great instructions Audrey and the card looks lovely! Love interactive cards. TFS
Audrey this card/mini is just awesome! Love the detail, oh my look at the bling and the awesome papers you chose. Awesome as you could write so much in it along with plenty of photos.... Imagine how awesome it would be to receive this from a loved one... you would immerse yourself in the contents. Love it! Great tutorial, so easy to follow.
Thanks for sharing with us today.
Wow, look at the detail in this mini/card. I like the colors and the front makes you want to look inside and investigate more. TFS
sooo love this card!
Shhhhh! MAking a practicing one at my job while on break! Cannot wait to get home and try this!
I stopped over at your blog and saw this, but had to pop on over here to say how gorgeous this is... I love all the amazing little details and the paper is beautiful.. hugs
Cute - Cute - Cute, what a neat idea. I like you paper choice too.
Hugs
Sue
Great card, I have never seen one like this before and will have to give it a try. TFS
Audrey,
WOW! This is absolutely beautiful!!! I amamazed at all your details and how you put them all together. I love it! Been thinking about you my friend.
Hugs,
Charlotte
awesome job..........luv it!!!!
WOW!!!! This is amazing.
Wow Audrey what a fabulous creation!!! My goodness thanks for the details!
hugs,
M
Thank you all for your wonderful sweet comments!!! And thank you so much for stopping by -- I really appreciate you all!!!
Absolutely awesome "card"!! :-) I love interactive cards like this!! Thanks for such an awesome tutorial so we can make one for ourselves!! You are so talented!!
Very cool! This is great!
Oh Audrey! I call it SPECTACULAR!!!
Absolutely beautiful, you always come up with such wonderful projects.
Wow!!! This is an entire scrapbook!!! Love your creation!!!!
All I can say is WOW!!!! Very creative!
Wow this is amazing. First time seeing something like this:) Nice details and colors. I am going to have to try this one.
Post a Comment