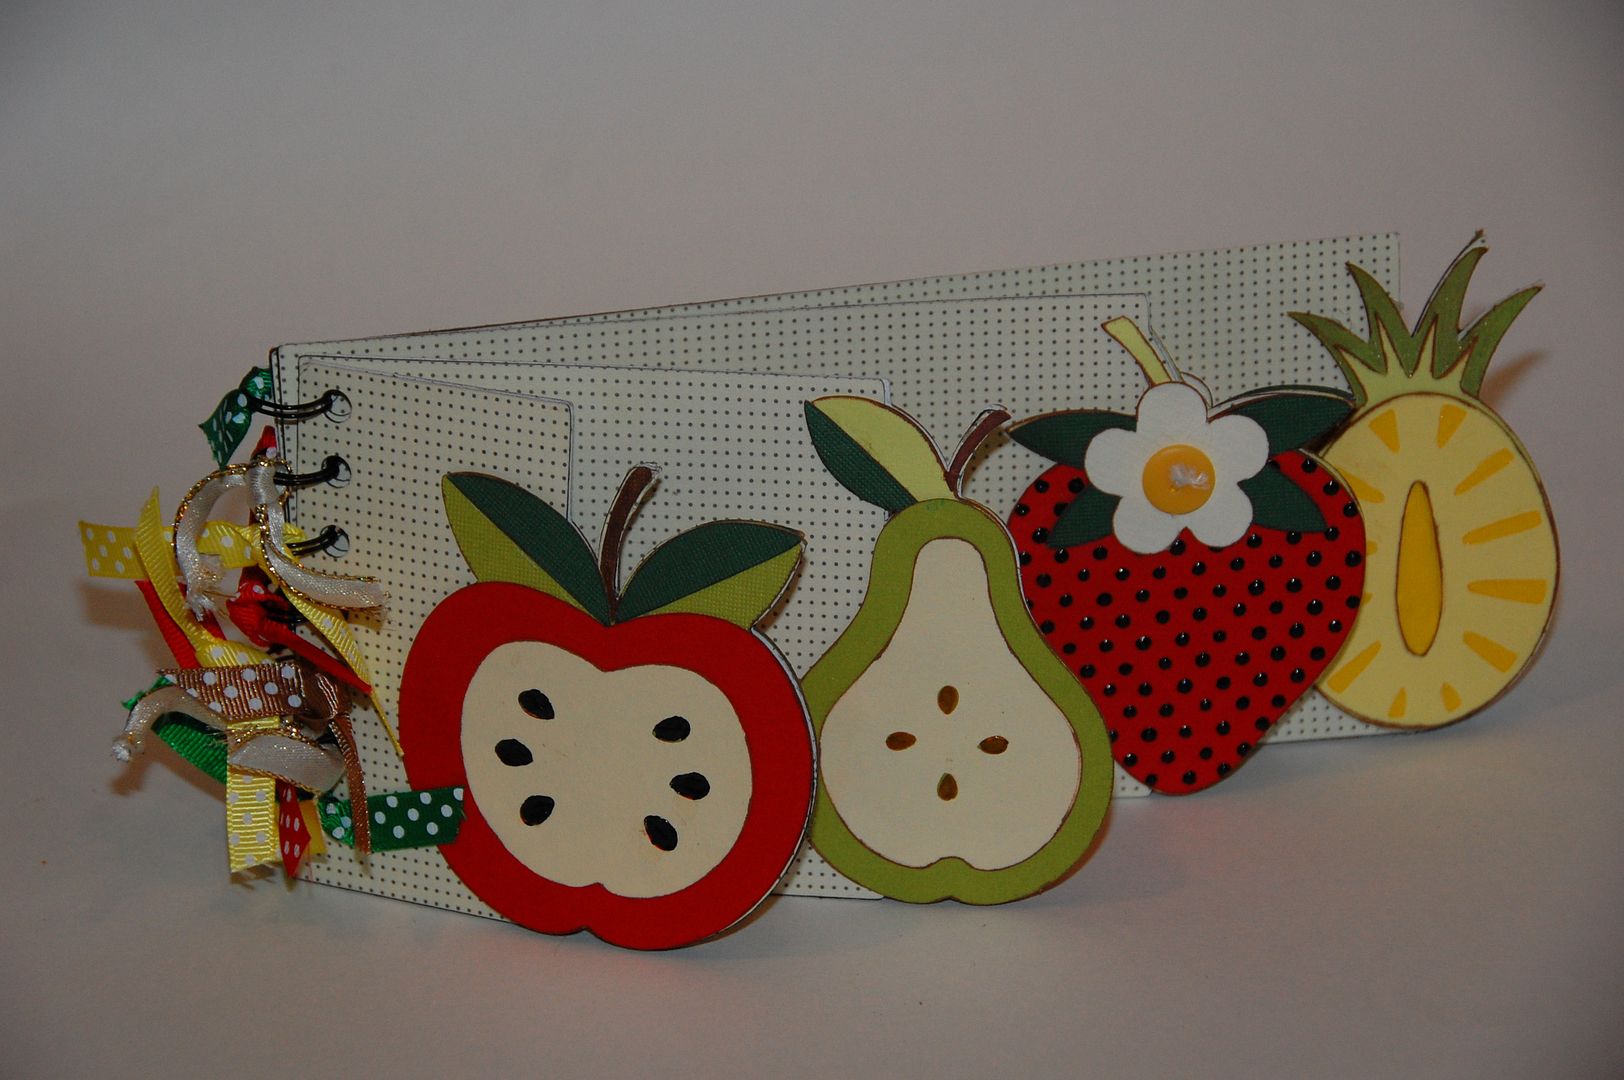
Hi Everyone! This is Elizabeth from 217 Creations. I hope all of you like minis! No not mini skirts, but mini albums. I know I have done two in a row, but I can't help myself! Thanks again Shelia for having me over to play today!
This one is done with Preserves Cricut Cartridge. I simply love this cartridge. The layers are super easy and this entire album is made from that cartridge.The album was cut from ColorBlok chipboard. The settings I used was as follows:
Speed: Gypsy is the boss!
Depth: 6
Pressure: High
Multicut: 2
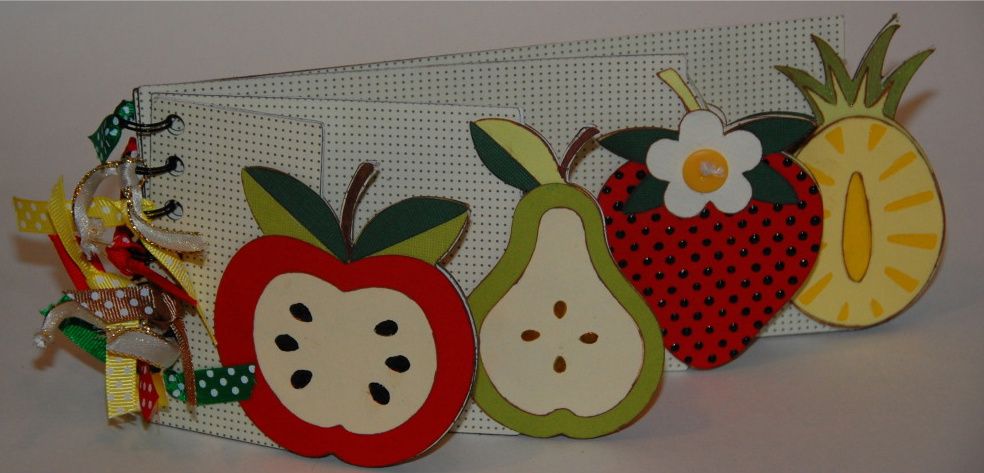
The Apple was cut at 3.43 inches. The details really pull through with the help of some smart embellishing. The seeds of the Apple are done with Viva Decor Pearl Pen in black. I love the 3D shiny effect! The edges have all been inked using ColorBox in Chestnut Roan with Fantastix inking tools. If you have not seen this video yet, YOU MUST! Here is the link: Inking Die Cuts Part One
The Pear was cut at 3.66 inches. The shiny seeds were done with Glossy Accents.
The Strawberry is my favorite! This was cut at 3.70 inches. At first I was annoyed with the dashes that the strawberry cut into the paper. I was going to Hide Selected Contour to remove the dashes, but then I realized I could use these to my advantage. I took the Viva Decor Black Pearl Pen and followed all the dashes to create this dimension. For the button I took embroidery floss and tied a knot through the holes. I then hot glued the button to the flower.
The final page is the Pineapple. It was cut at 3.76 inches. I used Glossy Accents for the shiny center and Sakura Gelly Roll Stardust Pen for the glittery green paper. I love this pen for times when I want bling without glitter- plus it has no drying time!
The file is a free download. The first 4 pages are for the book with the welded fruit. Pages 5-8 are the layers of the fruit. Everything was sized with Real Dial off. You will have to "flip" the image to get the back side of the book and fruit.
Here is the front page prior to the "flip":
Here is the page after the "flip"
I hope you enjoy the free download!
Here is the video describing the file and book and giving assembly details! As always I love comments and followers!


18 comments:
wow.... this is adorable!!!! Love it all, what a great job you did. Love the details, colors, ribbons. You rock! Thanks for sharing.
Look at this album isn't it beautiful. I love my preserve cart but didn't know what to do with it! This is adorable and I love all the bright colors. Thanks for the wonderful video and great tutorial.
Love all of the shine and shimmer on your fruit!! Your mini is soooo cute!!! Love your videos, your personality shines through!!
I love this, its great. This makes me want this cartridge because now I see something awesome to do with it.
This is super cute! This would make a great album for recipes to share.
I love minis!!! And yours are too cute!!! Thanks for the video too!!
Barb :)
This is FREAKING AWESOME - I have to be honest the mini shaped albums haven't been something I've really wanted to do, until now. So cute - thanks for opening my mind.
MelissaMade
Just adorable. I love how you made the apple seeds so shiny... Cute idea.
they are nice enough to eat. Love how the seeds shine. You go girl!
elizabeth! every time i look at your stuff it seems to cost me money!!! lol. but i love the stuff i buy! very cute album...i already have a use for it!
This is just adorable. I like how real the fruit looks.
Wow.. that's a great mini!! love it
This is so cute and bright and colorful! Makes me wish I had the cartridge!
I really want that Preserves cart now. This is so cute!
great project
LOVE-LOVE-LOVE that album, my friend!!!
Absolutely adorable! I don't have this cart, but will HAVE to buy it now to create this really great album!
Thanks so much for sharing it with us!
This looks delicious and oh so cute!!!
Post a Comment