


Hi all,
It's Kelly from Kam's Crafty Place. Thanks Sheila for having me back.I thought I would do a word book today. My friend just had a little girl and I thought I would make her a little word book. I hope you like it.

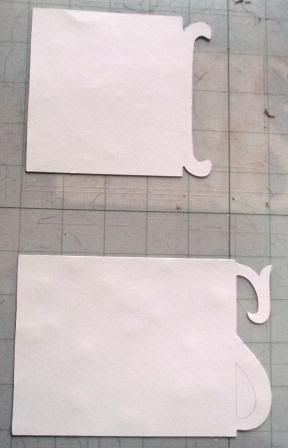
This is the first layer on the Gypsy. I used George for the square and Storybook for the lettering. I often use Storybook as I like the lettering.
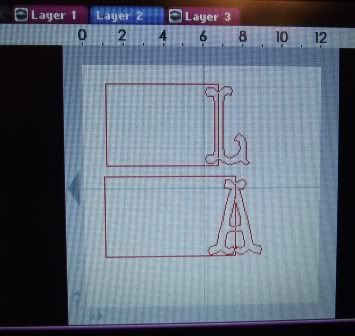
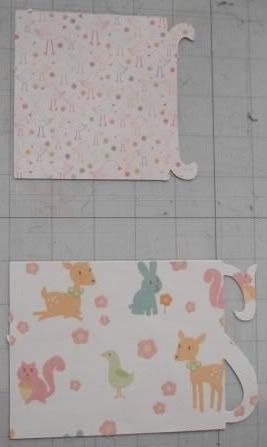
Here's layer two. On the first and second layer I just focused on the main part of the word book.
Layer 3 was just for the lettering that I was going to overlay on the main wordbook pages.
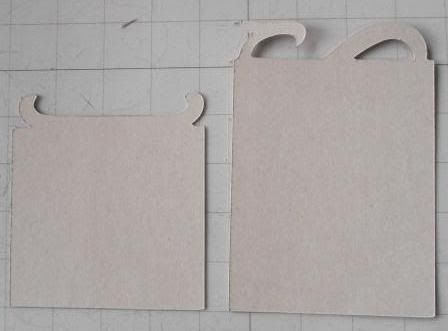
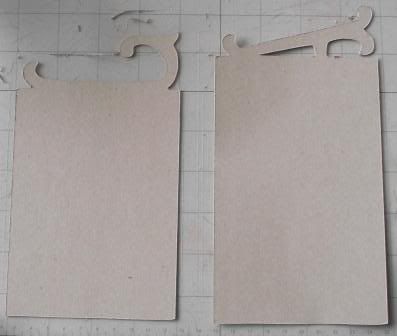
Here's the chipboard all cut out. I used cereal boxes for my chipboard. The blade was on 6 and I cut it twice.
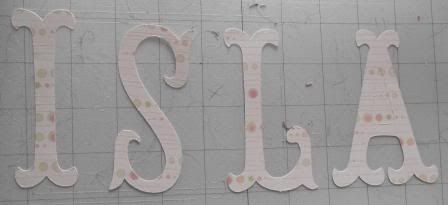
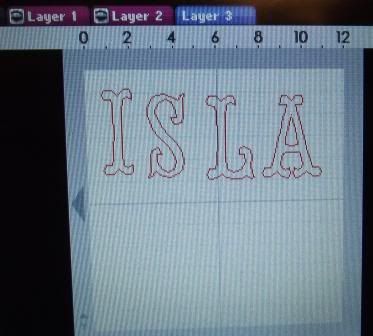
Here are all the layer three cut out. I used DCWV Nursery Girls for all of the paper.

I arranged my paper so each letter would be cut out of different paper. Saves time and paper.
Here are the letters cut out.
To make the other side fit on the chipbaord, I could have flipped the designs on the Gypsy, but to save time I put the paper, on the mat, face down.

Here are all the four pages assembled. I inked round all of the edges with Tattered Rose distress ink. I made little pockets with envelopes so the hospital bracelets etc could have somewhere to go.
Here are all the four pages assembled. I inked round all of the edges with Tattered Rose distress ink. I made little pockets with envelopes so the hospital bracelets etc could have somewhere to go.

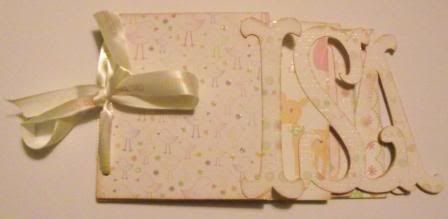
Here is the final picture of it all together. I tied it with a baby ribbon. Word books are fairly easy to do and I hope this tutorial will help you have a go at it.
Kelly x


7 comments:
What a great little book. Love your color choices and your instructions are great!!! Thanks for sharing with us today!
Isn't this cute. She will love this gift and treasure for a long time.
so very pretty! tfs w/us all the tut.
I am sure she is going to love this.. very pretty
This is a great tutorial!! I have been wanting to make one of these so thanks for the push!!
How very pretty! It will be a treasured keepsake!
Wow!!! Have been blog hopping and found your site with the most amazing ideas!! I have a craft Robo so I can't use your tutorials but your photo descriptions of how to make things are so clear, I can have a go at designing things myself in .gsd form. I'm so glad to have found your blog - I'll be back!
p.s. We Sheila's must stick together ;0)
Post a Comment