


So here is my book, I sure hope you enjoy my experience in decorating my flag book. Let me go on record as saying to Audrey I love you, but I decided that I am not as talented as you on these books so tell me you love it even if you have to lie to me!!! I am very insecure about this project.

These are just a couple of shots of the book as I received it from Audrey, you know before it was completed with decorations.

See the inside had two seperate pages.... like flags, kind of cool isn't it?

This is the spine.... I was so intrigued with how Audrey made this that I actually sat down and figured it out. The binding so to speak is an 8 1/2x11 cardstock folded in half followed by 1/4 inch folds till you get the number of pages you desire. The cover and back, inside and out are 8.5x5.5 inch carstock adhered to the spine/binding which ever term you prefer to use. The individual pages are 8.5x5.5 cardstock cut again to form two seperate pages or flags on an individual page.

I sat down and folded a sheet of paper and marked, measured and counred all the sheet I needed. I used a paper stack from Me&My Big Idea so that all the papers coordinated perfectly. I was really excited to use this paper as I got a whole stack on a close out sale for only $4 and later in this post I will show you some of the matching sticker packs they had that I only paid $1 each for at Joannes. I cut all the little pages and attached them to the book. I used some of the scraps and used my Martha Steward punch to create a scalloped edge.
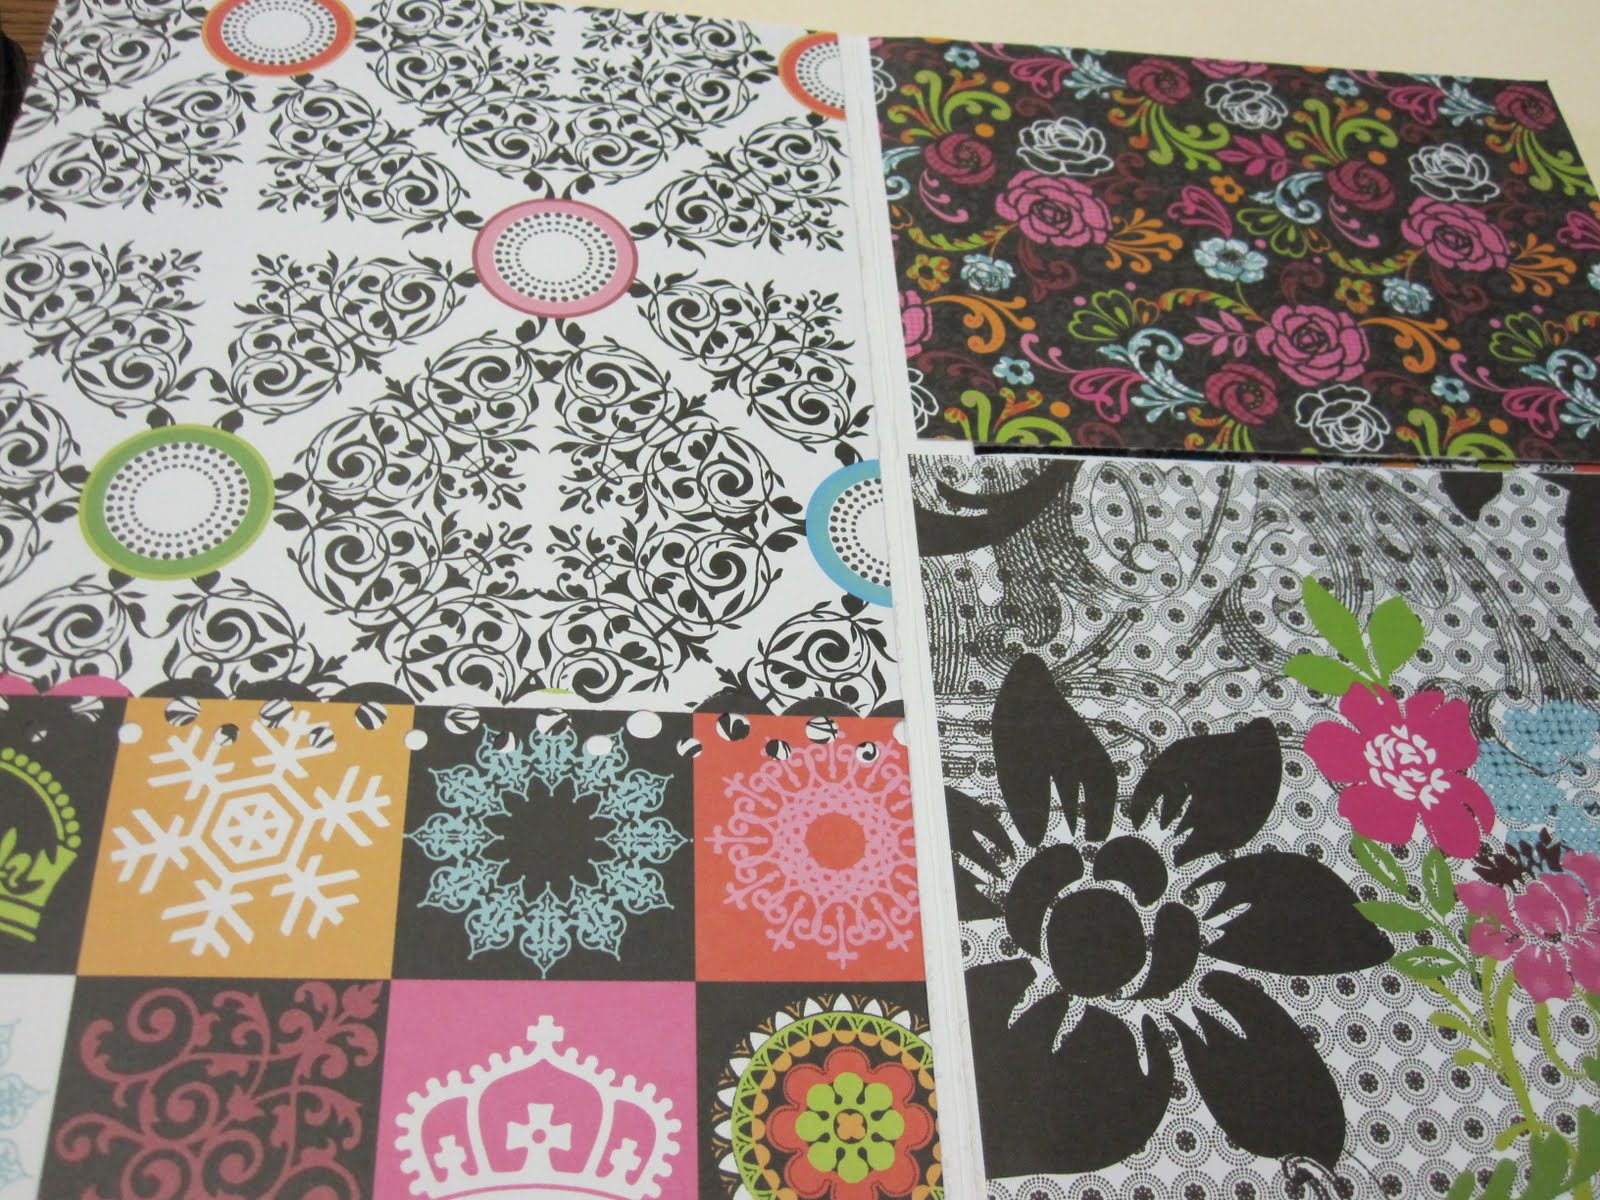
I mixed the different patterns, and even though it looks extremely busy. Look closely on the lower left and you can see the punched edge. I am sure it will be wonderful when I add photos to it.

Then I sat down with My Gypsy Woman and laid out 3 pages of cuts. You know simple embellies. I used my scrap box to pick out papers and more of this stack.

I cut out all the embellies at one time. I just love how you can just layout a bunch of little scraps and come up with something beautiful.


I made sure that I scored all my objects with a fold. This is my tag pocket.

And the little purse to match her dress for the cover.

I took all the little pieces.

And put them in my to go bag. This time their were 2 bags one to hold the book and keep it clean and protected and the other for all the embellies. I made this entire book away from home on my lunch hour at work at my desk.

Here are all the different stickers and chipboard I had available that matched the papers. I just couldn't pass up a good deal at $1 per packet and some of these will come in handy for this little book.

The little purse was too thick for the cover so I gave it another fold and placed glue on the top to hold together yet allow a little poof at the bottem so it had dimension to it.

Now doesn't that look cool?

Then I started adding the embellies that my cricut cut to the pages.

See the cute little pocket on the left, its from TBBM and I added the matching stickers so it looks like it fits right in with the book.

The tag is easy to pull out and ready for journaling on.

Just a few embellies here an there on the pages and they are now ready for photos.

I added a little lawn chair to this page and a butterfly to another.

Isn't he cute with his little smiley face? I did the double wings to give the look of movement.

This close up give you a good idea of how the MS punch looks. I love the little frame as it adds plenty of room for journaling.

And this is a another closeup using a chipboard square.

And the full page view.

Here is a side view of this little flag book after the embellies have been added and the cover tied together.

One last view of the cover.
And another close-up. I sure hope you enjoyed my first little book. I shared all the photos so you would have a good idea of how to put one of thes books together from begining to end. I can't wait for our next backyard barbeque as I will take lots of photos and fill my flag book up.
We are installing an above ground pool this week so we should have plenty of fun photos over the weekend. I believe it is the everyday details that make our lives so rich. The time that we spend with our families, the details of a good meal with loved ones, funny quips, and laughter. Yup my little book will be filled with FUN DETAILS OF OUR LOVED ONES AND THE MOMENTS WE SPEND WITH THEM.
I am always encouraged by your sweet - sweet words. Your comments inspire me to keep scrapping and sharing things with you.


21 comments:
Wow! what a design!!!!!
Oh, Sheila! I won't lie!!! The truth is in the "pudding" as they say! I love-love-love what you did with this!!! I'm absolutely speechless, and I want you to know I couldn't have done it better myself!!! I am so very pleased with what you did, and I never imagined you'd give it such thought and add so much detail! Thank you so much too for all the time to reconstruct and provide instructions to everyone. You got it all so perfect!!!
And, sweetie, I love too but noooo way does my skill surpass yours in any way!!!
Thank you for sharing this!!! You are just too wonderful!!! Now I'm going to post this to my blog and do a bit of bragging on you!
Seriously? You are insecure about that? IT'S AWESOME! I've never ever seen a flag book!!! And I'm so impressed that you used your Gypsy! I bought mine on HSN on debut day. I don't KNOW HOW TO USE IT!! I've tried, but get nowhere. So I spent $300+ on a machine that I use to search keywords to find out what cartridge things are on!
You did such a great job Sassy!!! You look like a natural book~maker!! I love the bright colors you used. You will not notice them as much once you add your photos so don't worry about that!
I love the little purse that matches her dress for the cover! How cute!!
Funny to see that other people look at a project and can figure it out. I try it all the time! I don't always succeed, but I try!!
Very proud of you for putting yourself out of the box and showing us the result!!
Great job! I'm going to have to come back and study this when I'm home. I like the way the book is constructed, think it would make a great senior memories book for my daughter next year.
incredibly well thought out patterned paper and embellishments!!! your post is so thorough with pictures, measurements, close ups and even the cricut mat layouts!!! are u kidding me? you are a talented and giving artist! cute and some sent me one of this books and i had a young scrapper over (9 yrs old) and she feel in love with the size of the book, perfect for her classmates photos, so i gave it her!
Sheila.... look at you!! This book is spectacular!! And the papers are so yummy... especially at the great price you got them for!! You have me totally motivated to try one of these books!!! Thanks for all the detailed directions you always give!!
Barb :)
Wow, what a great job! Looks like a lot of planning and work involved but well worth it - beautiful!
Simply Beautiful!!
Sheila, this is fabulous! Your choice of papers was perfect, so cheery and birght. Thank you for sharing! Luv it.
You did a fabulous job! It's beautiful - love it!
Oh Shelia, this is just awesome. I am so impressed with it. Absolutely gorgeous.
Oh my goodness!! This book is absolutely amazing!! I love, love, love it and can't wait to try my hand at one!! I'm thinking of creating one from scratch but is there a place I can purchase a blank one? I have to tell you that your creations are always so beautiful and well done!! Your instructions are always very easy to understand and for that I thank you! :-) Don't ever think that you "aren't that good" !! You are amazing!!
WOW!! I think I have found a new obsession - flag books...although it looks hard to make - all those measurements.
I LOVE the paper you chose - you always take risks and it always turn out beautifully!!
I wouldn't be nervous about this at all - it's gorgeous!!!!! :) :)
Sheila, this is great. I love the idea and thought behind it and your execution of it. I LOVE those papers and all the little embellies you made and added to this. Gorgeous!!!!
I just checked my email and saw your project. It's so beautiful! The colors are amazing. The black and white papers with a splash of color are divine. You are so creative and talented! Congrats on completing your project.
Gorgeous..Start to finish.. Fantastic job!!Thanks for sharing!
Your project is absolutely beautiful the color are amazing.
I received the package from the challenge today and OMG I love love love it. That was so generous of you thank you thank you thank you.
This is beautiful, the purse is my favorite. Thanks.
Wow did you do a FABULOUS job on this! Audrey's a sweetheart and you did her PROUD! xxD
PERFECTLY beautiful! No one would ever look at this book and believe it was your first attempt. It's fabulous.
Post a Comment