


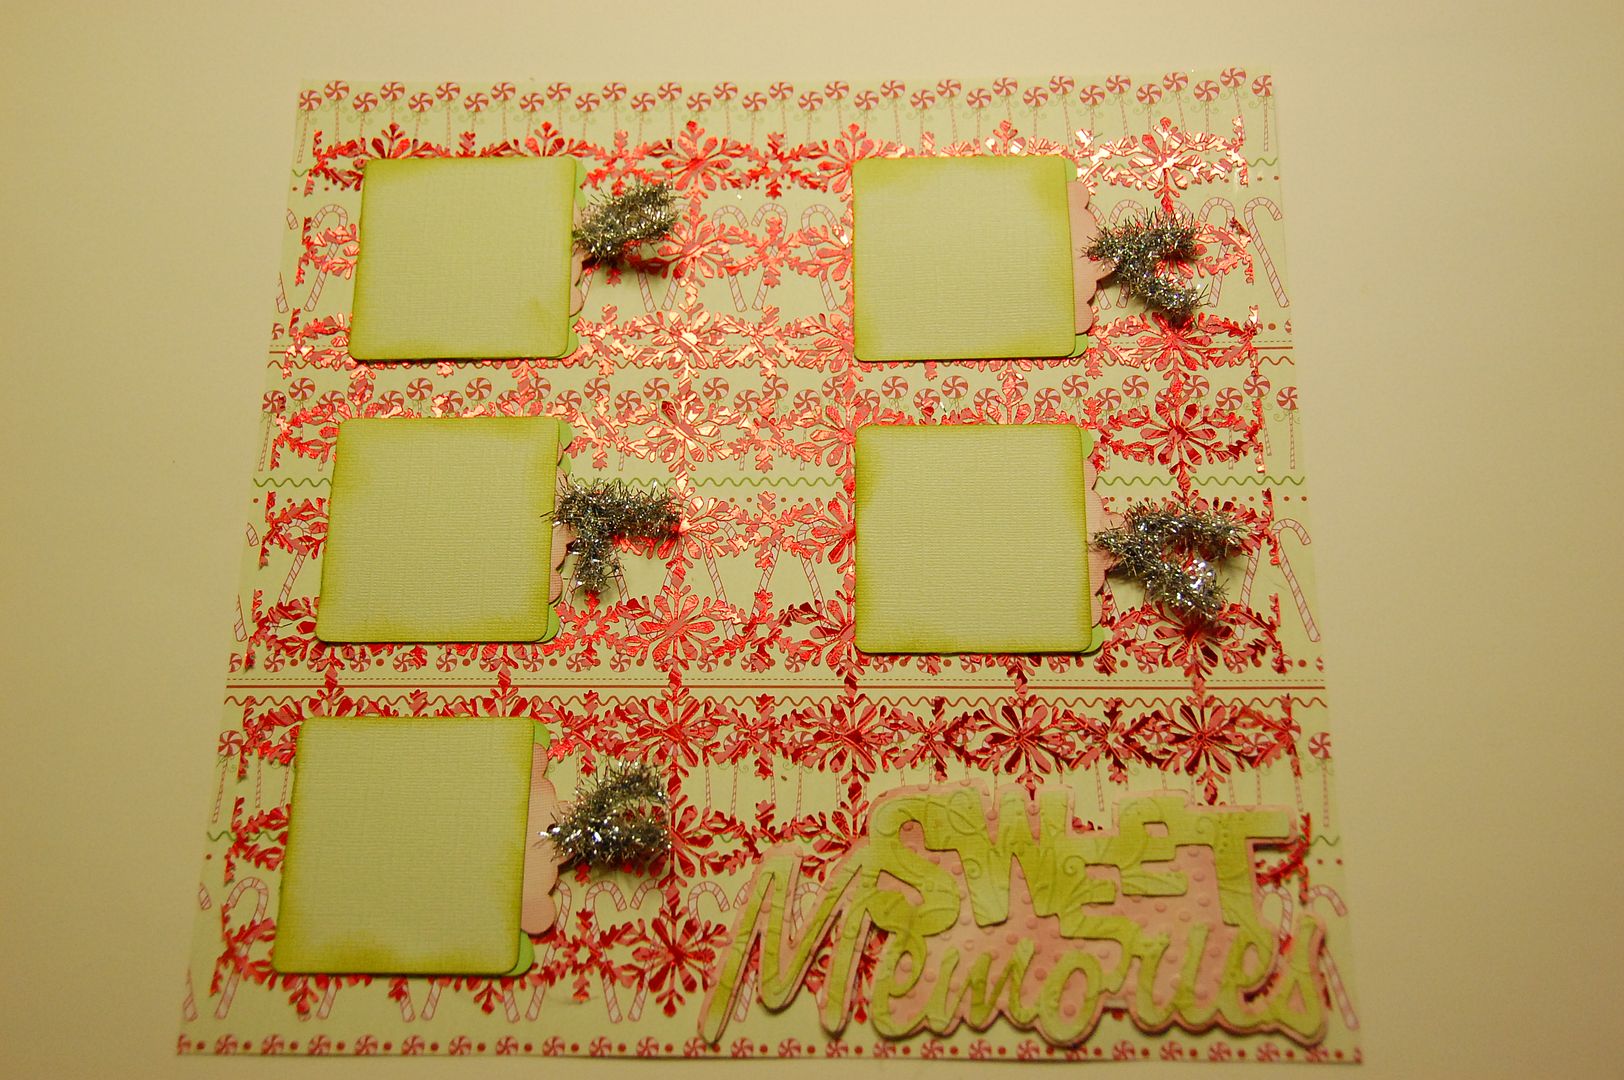
Hi Sassy Girls! This is Elizabeth from 217 Creations. Thanks Sheila for having me over to play! I am usually showing altered art or cards but I continue to try to to do 12x12 layouts. The trouble I have is that I take tons of pictures and I like to journal details. So as I was laying out the Gypsy file for this project, I decided to try some "new" techniques.
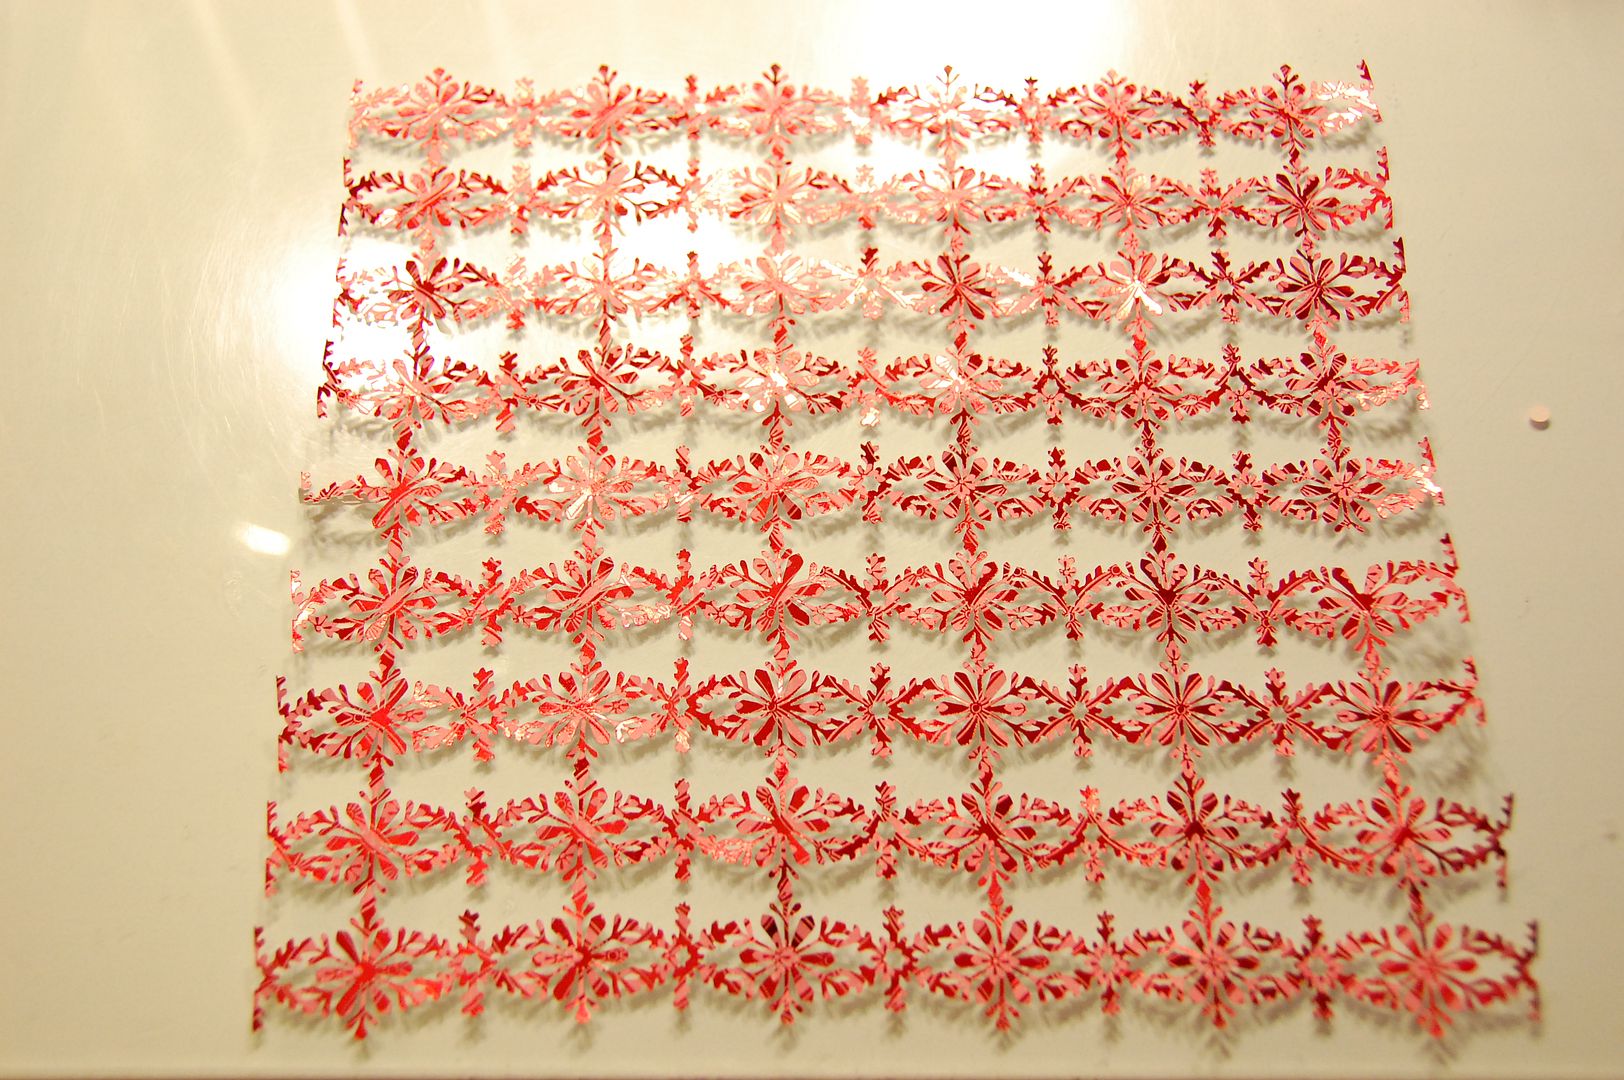
So the first thing I did was make the snowflake lacepaper for my layout. I made this file using Martha Stewart Seasonal Cake Art.
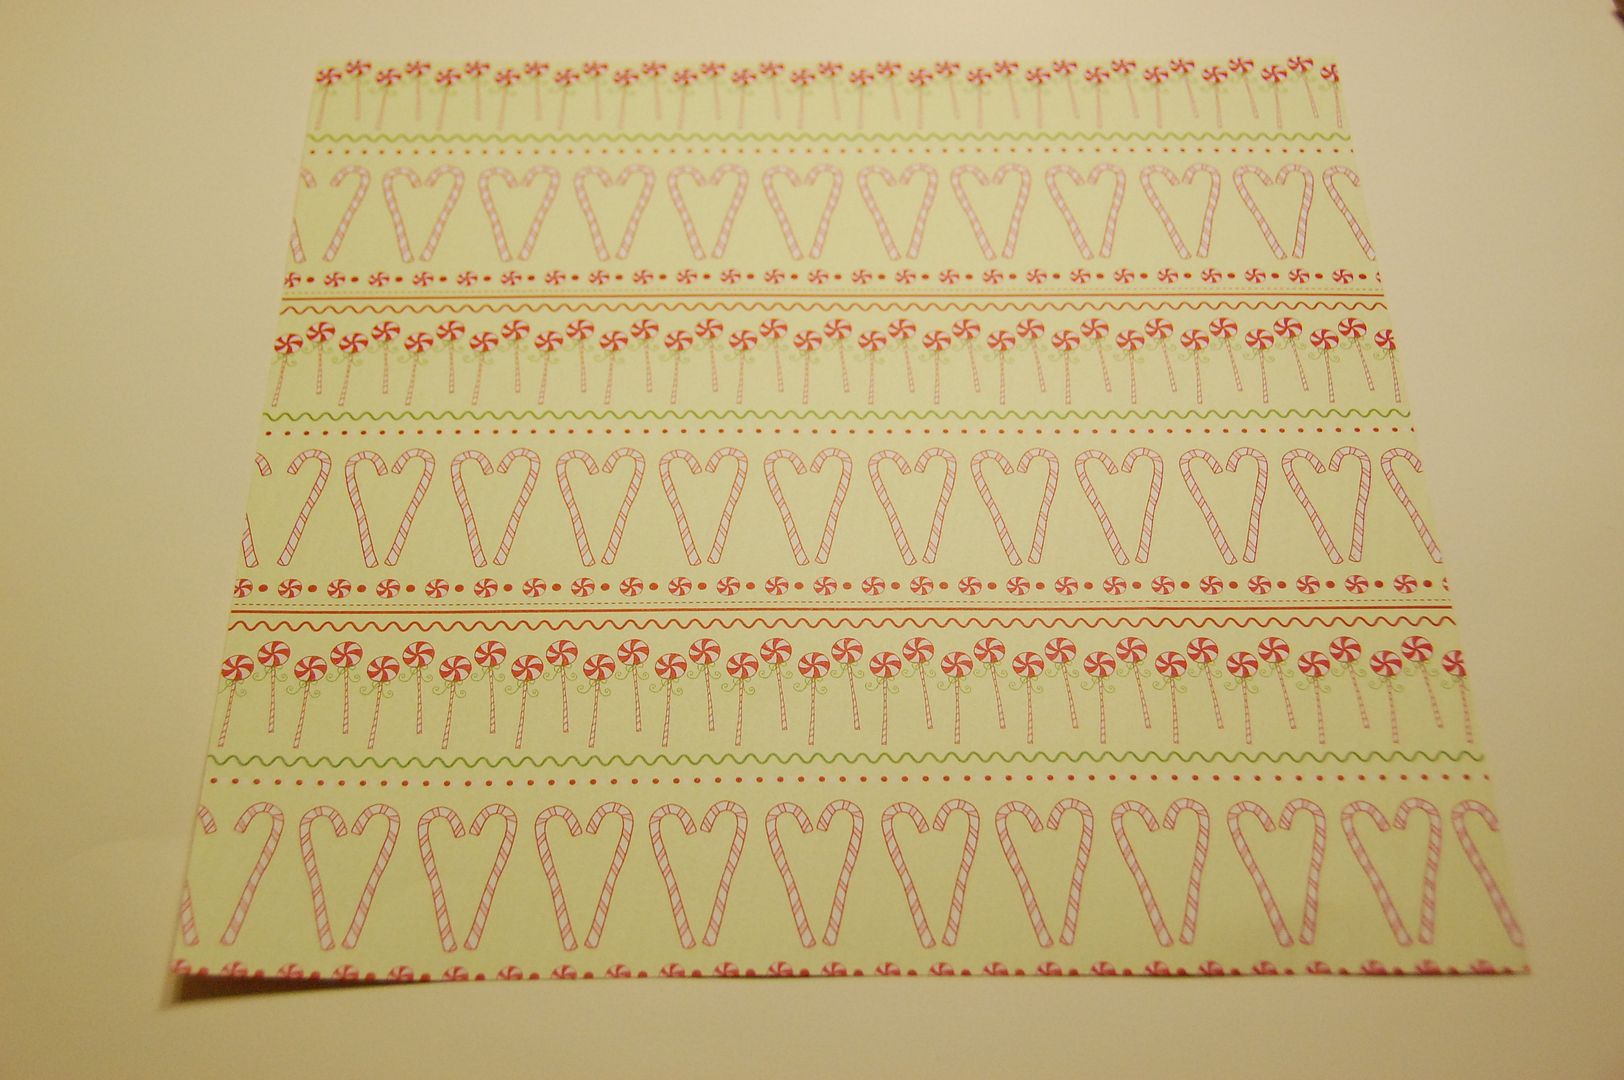
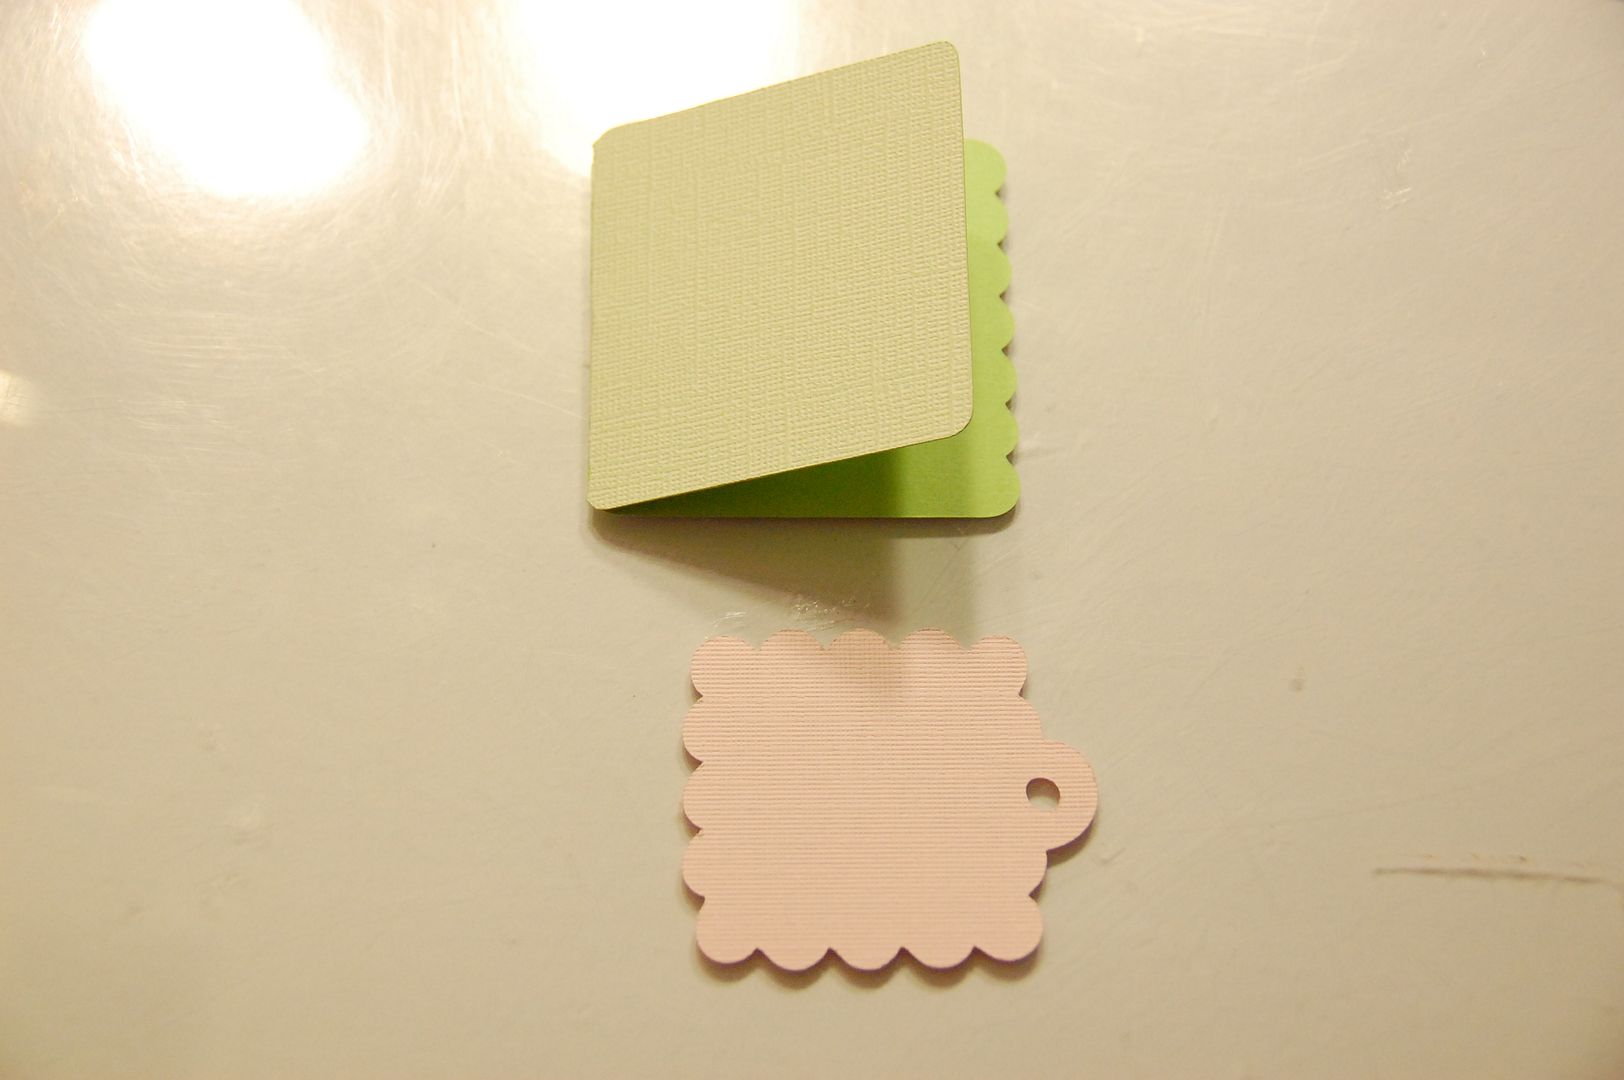
This is going to be my base paper to back the snowflake paper.
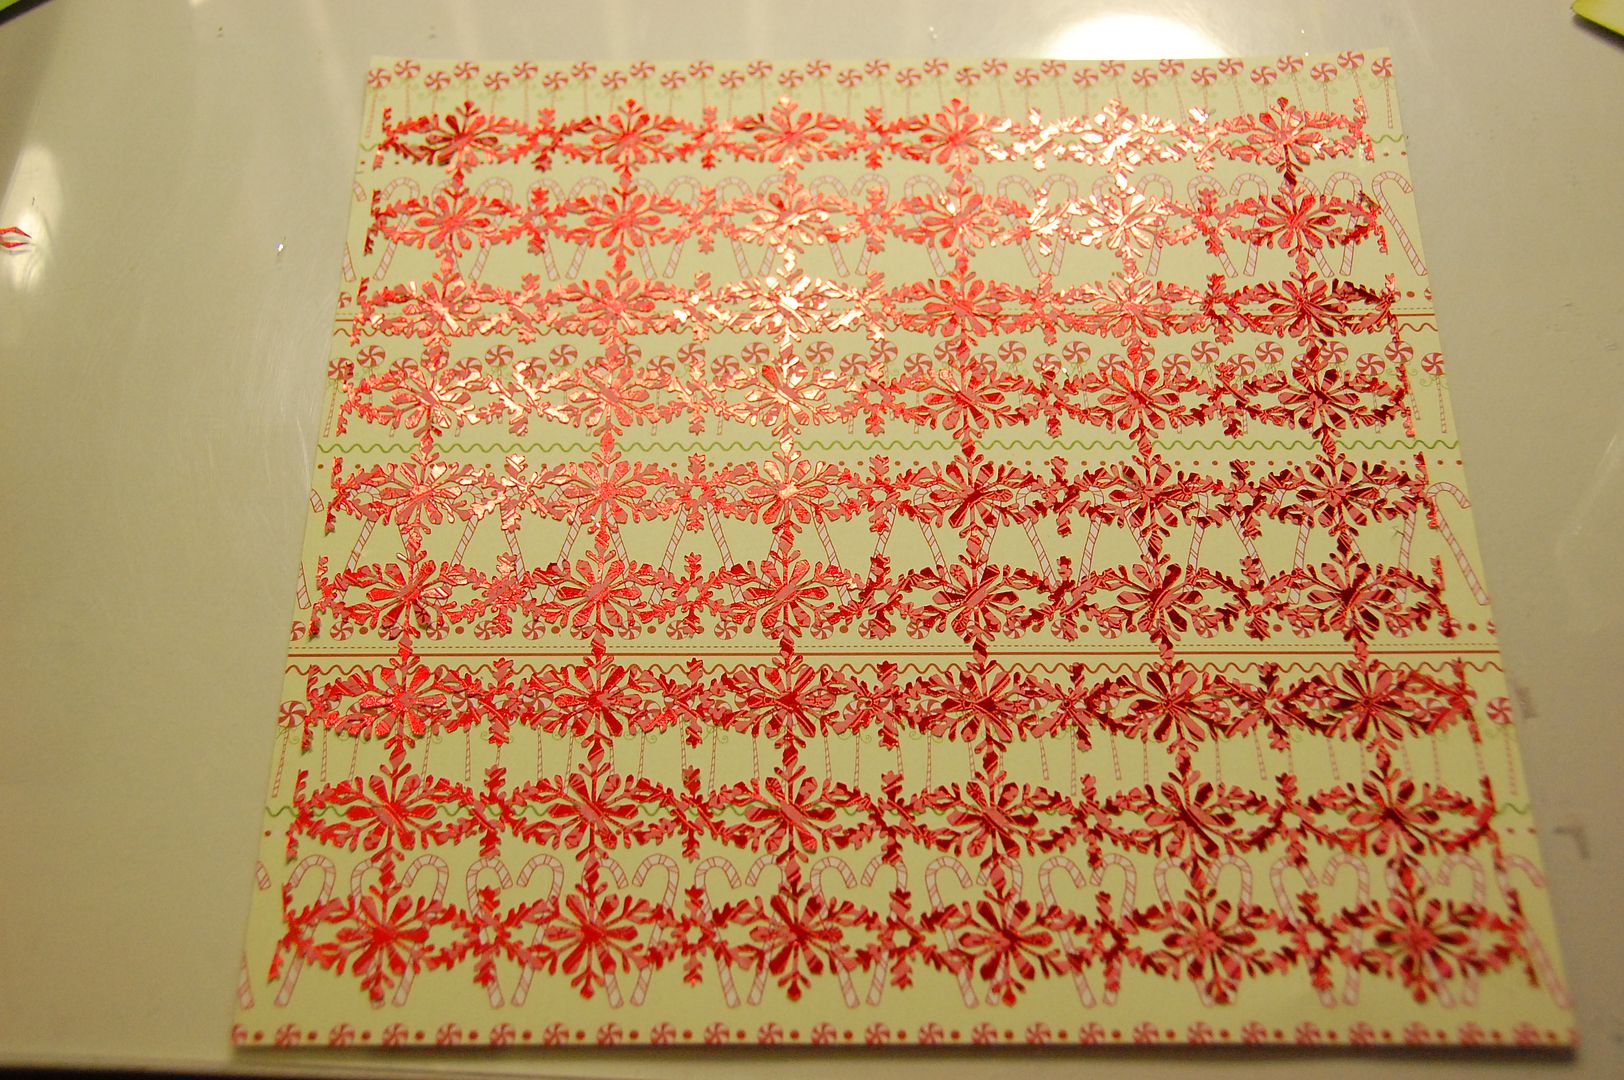
Then I adhered the snowflake paper to the base paper using Permanent Crafter's Companion (red can).
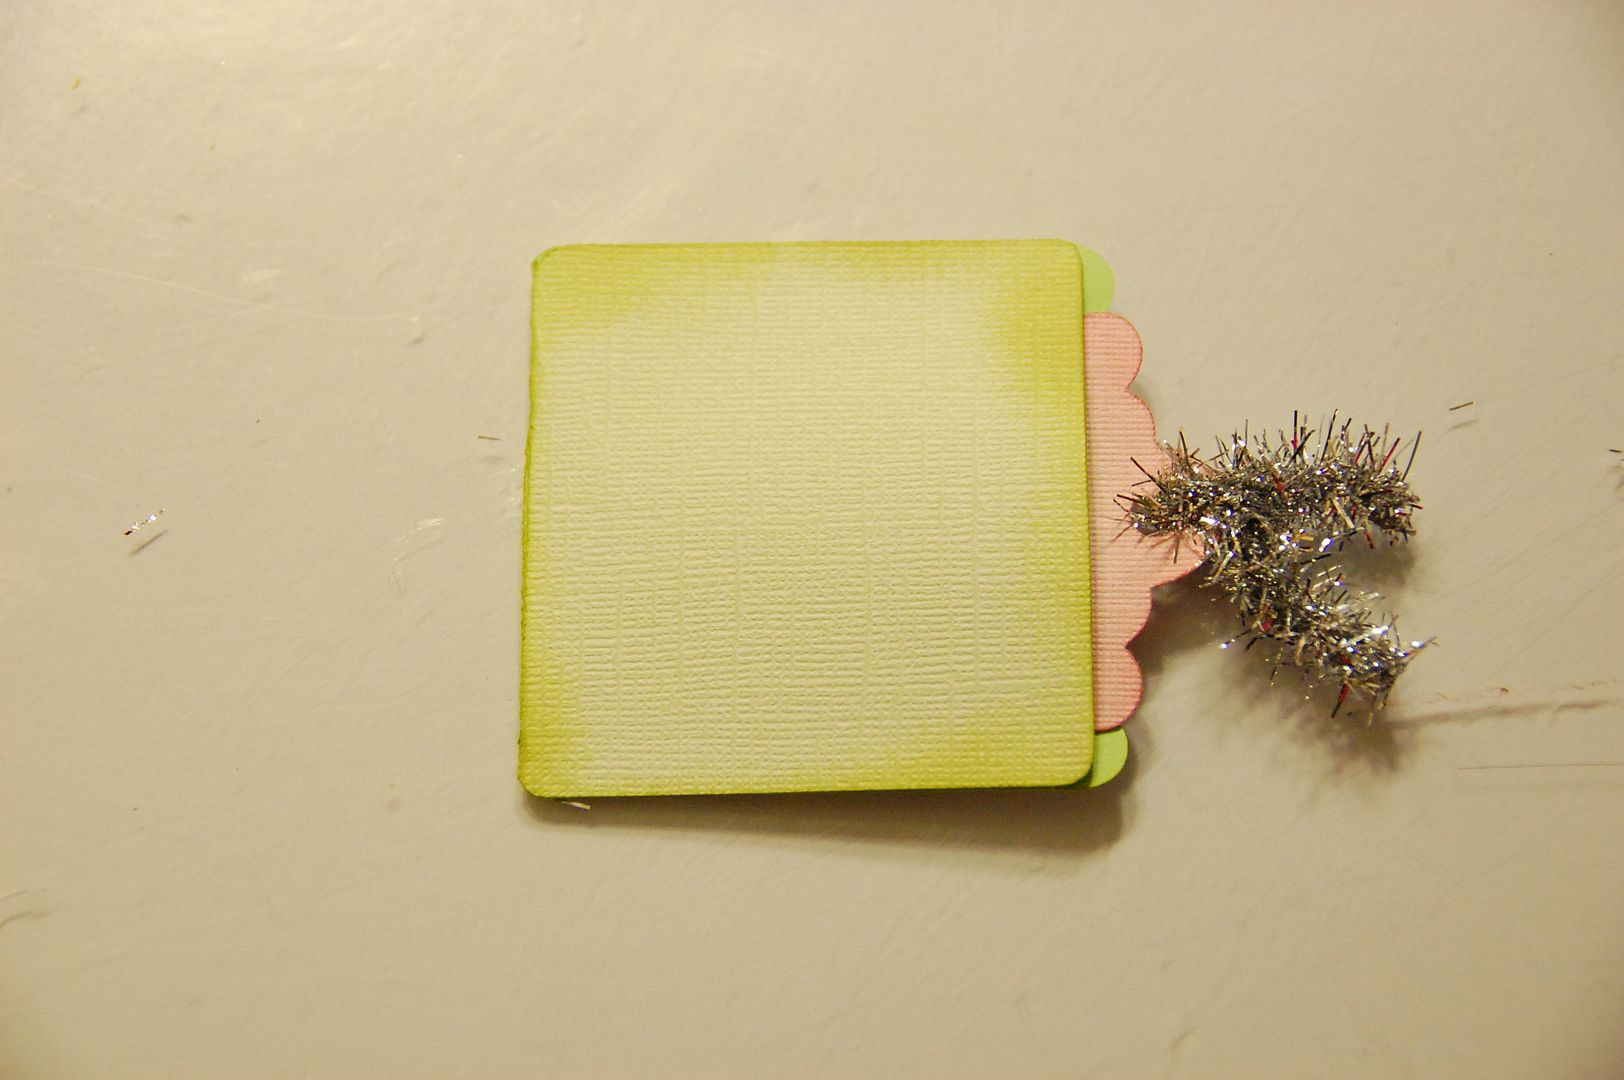
I then took Crushed Olive Distress Ink and inked the edges of the card. I used Worn Lipstick Distress Ink to ink the sides of the tag.

Then on the end of tag, I tied some silver tinsel ribbon that I bought at Michaels. I used my ATG gun to tape down the sides on the card to make a pocket. Then I slid the tag in, hiding my journaling space (I cannot write straight to save my life).
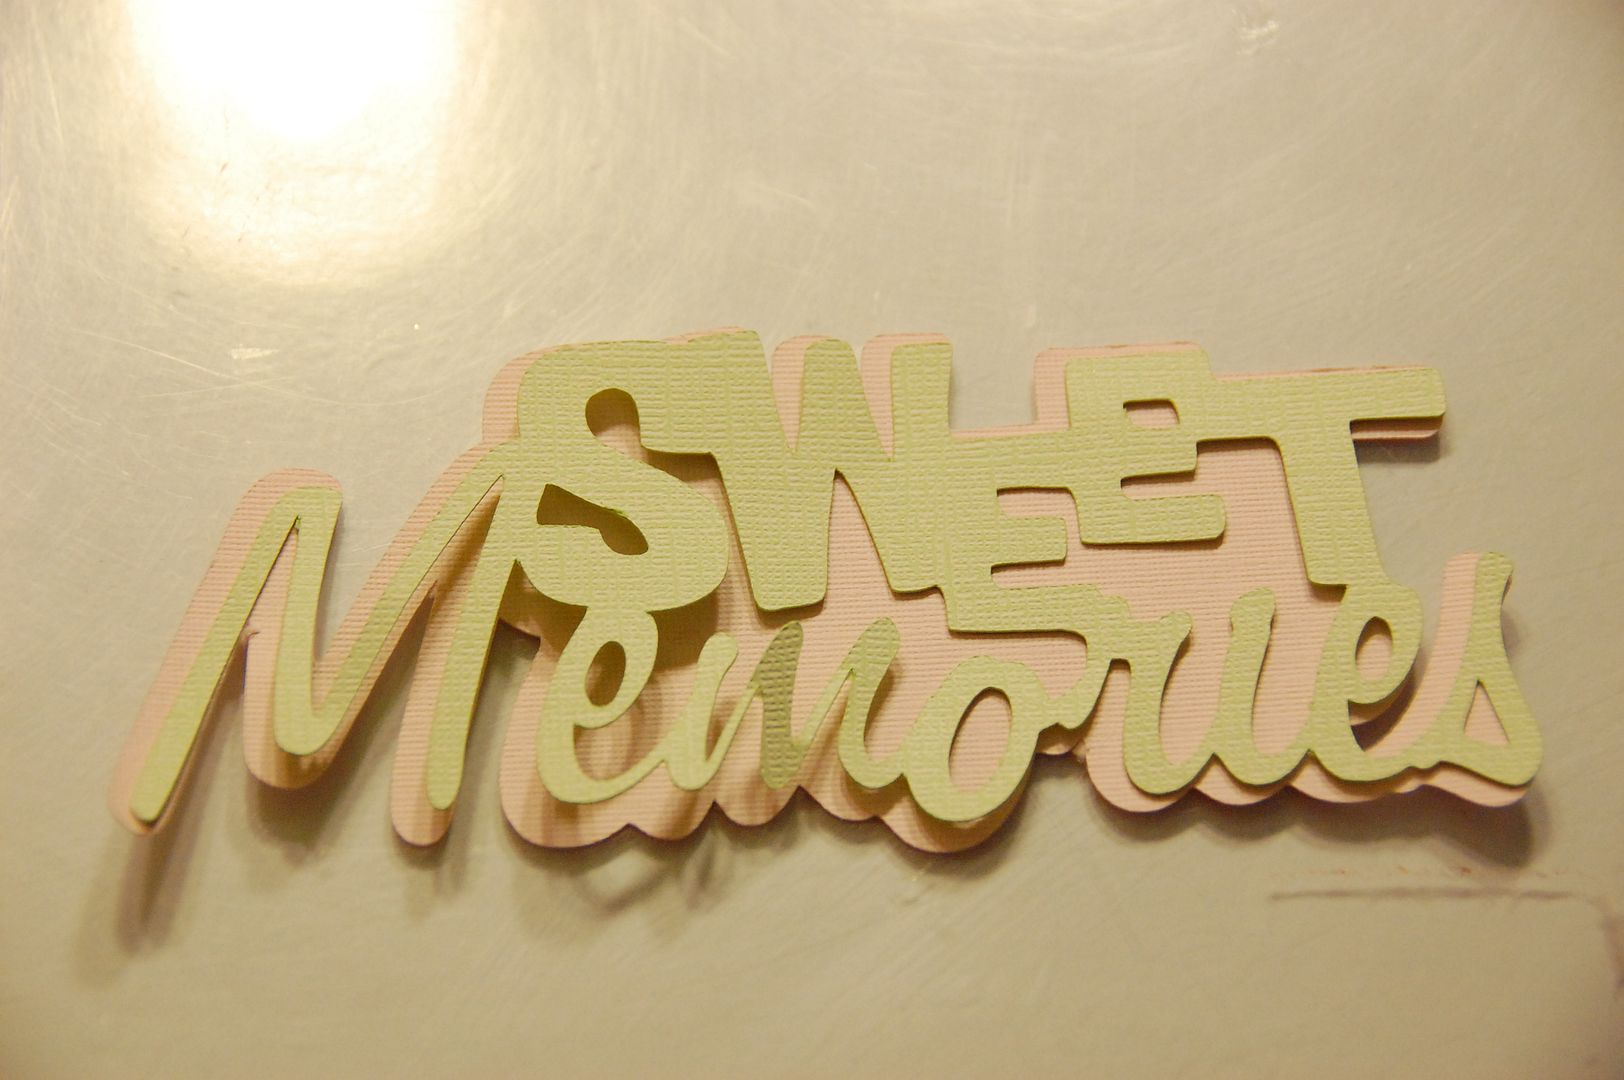
Next I cut the phrase "Sweet Memories" from Winter Frolic at 2.62 inches (real size off). I cut the base and the shadow. This cartridge has a whole layer of phrases, plus borders!
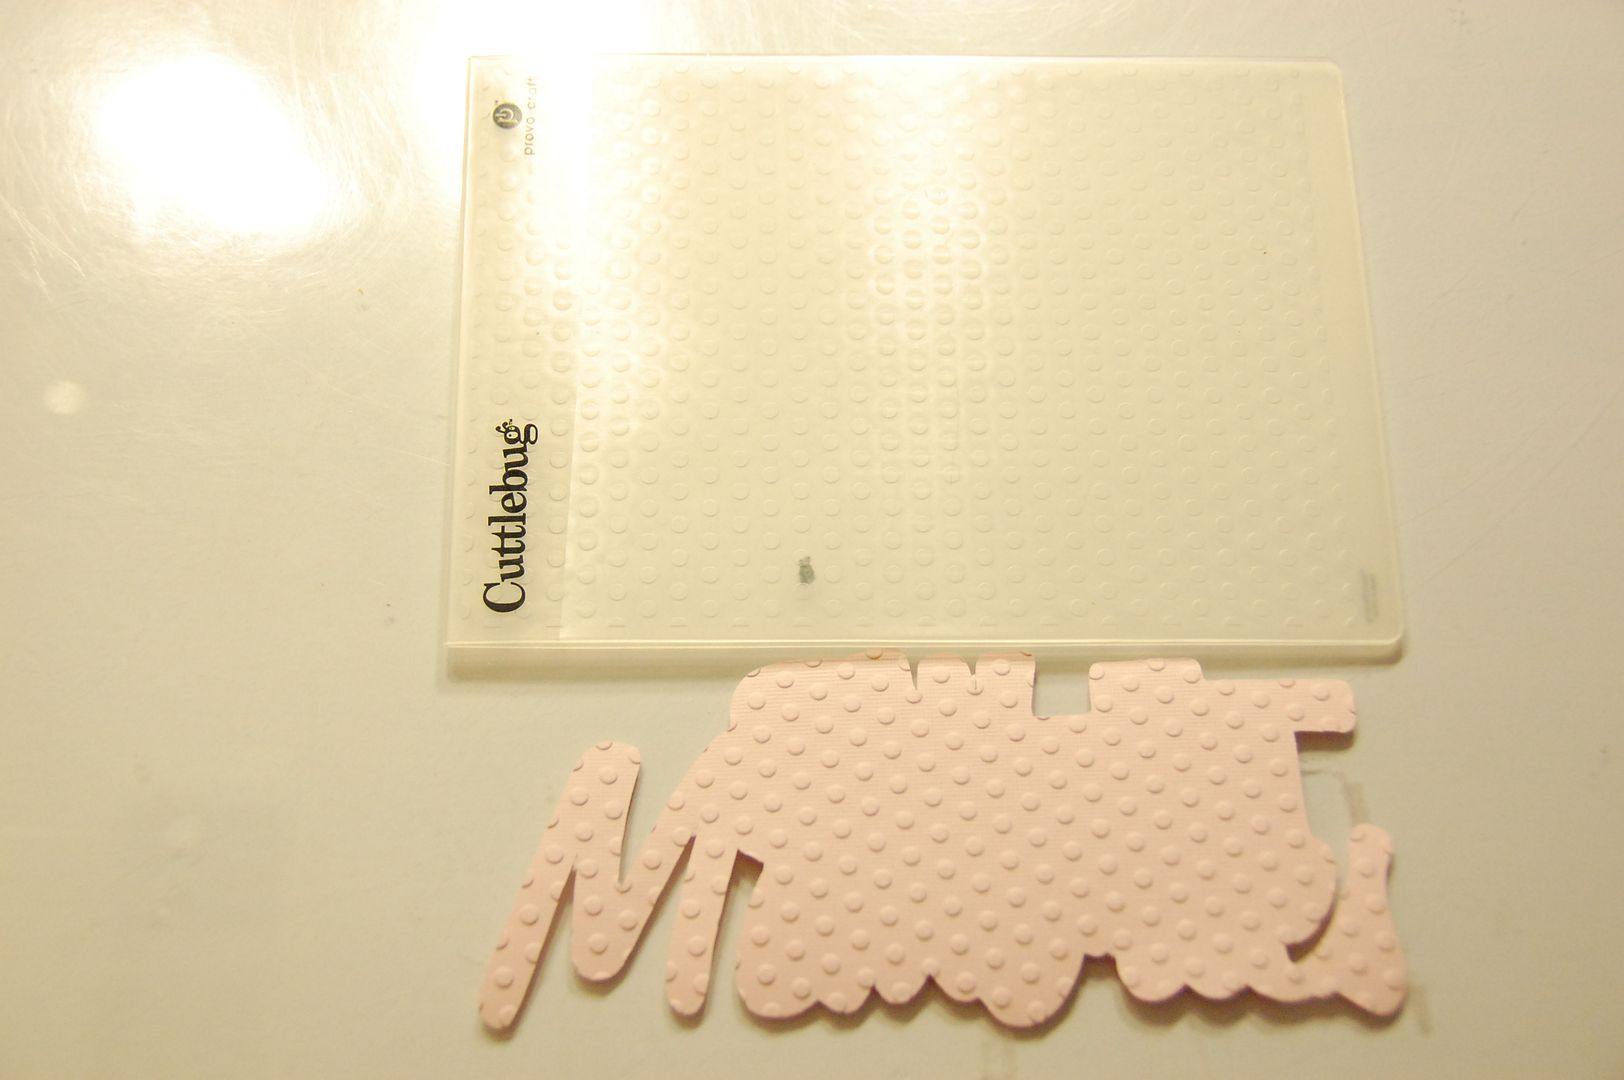
I then took my 5x7 Cuttlebug Folders and ran the phrase and the background through 2 different folders. The shadow was embossed with the large dot folder.
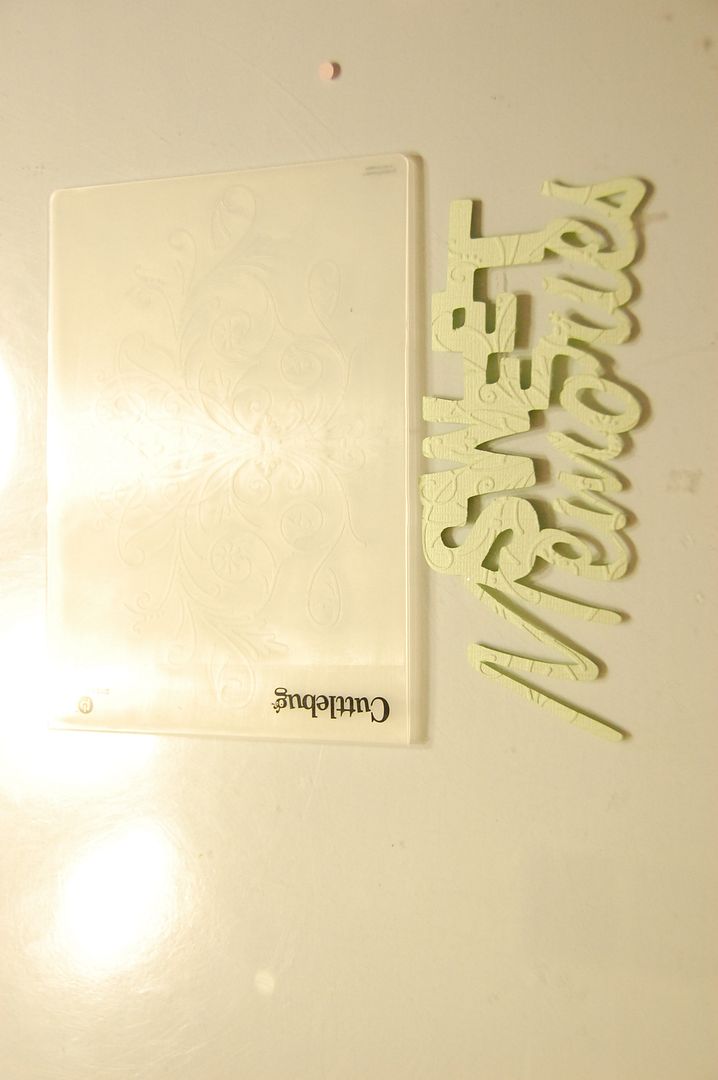
The base was embossed with one of the folders from the Romance collection.

Then I used Crushed Olive and Worn Lipstick to ink and bring out the embossing.
Then I laid all pieces down and adhered them to the lacepaper.
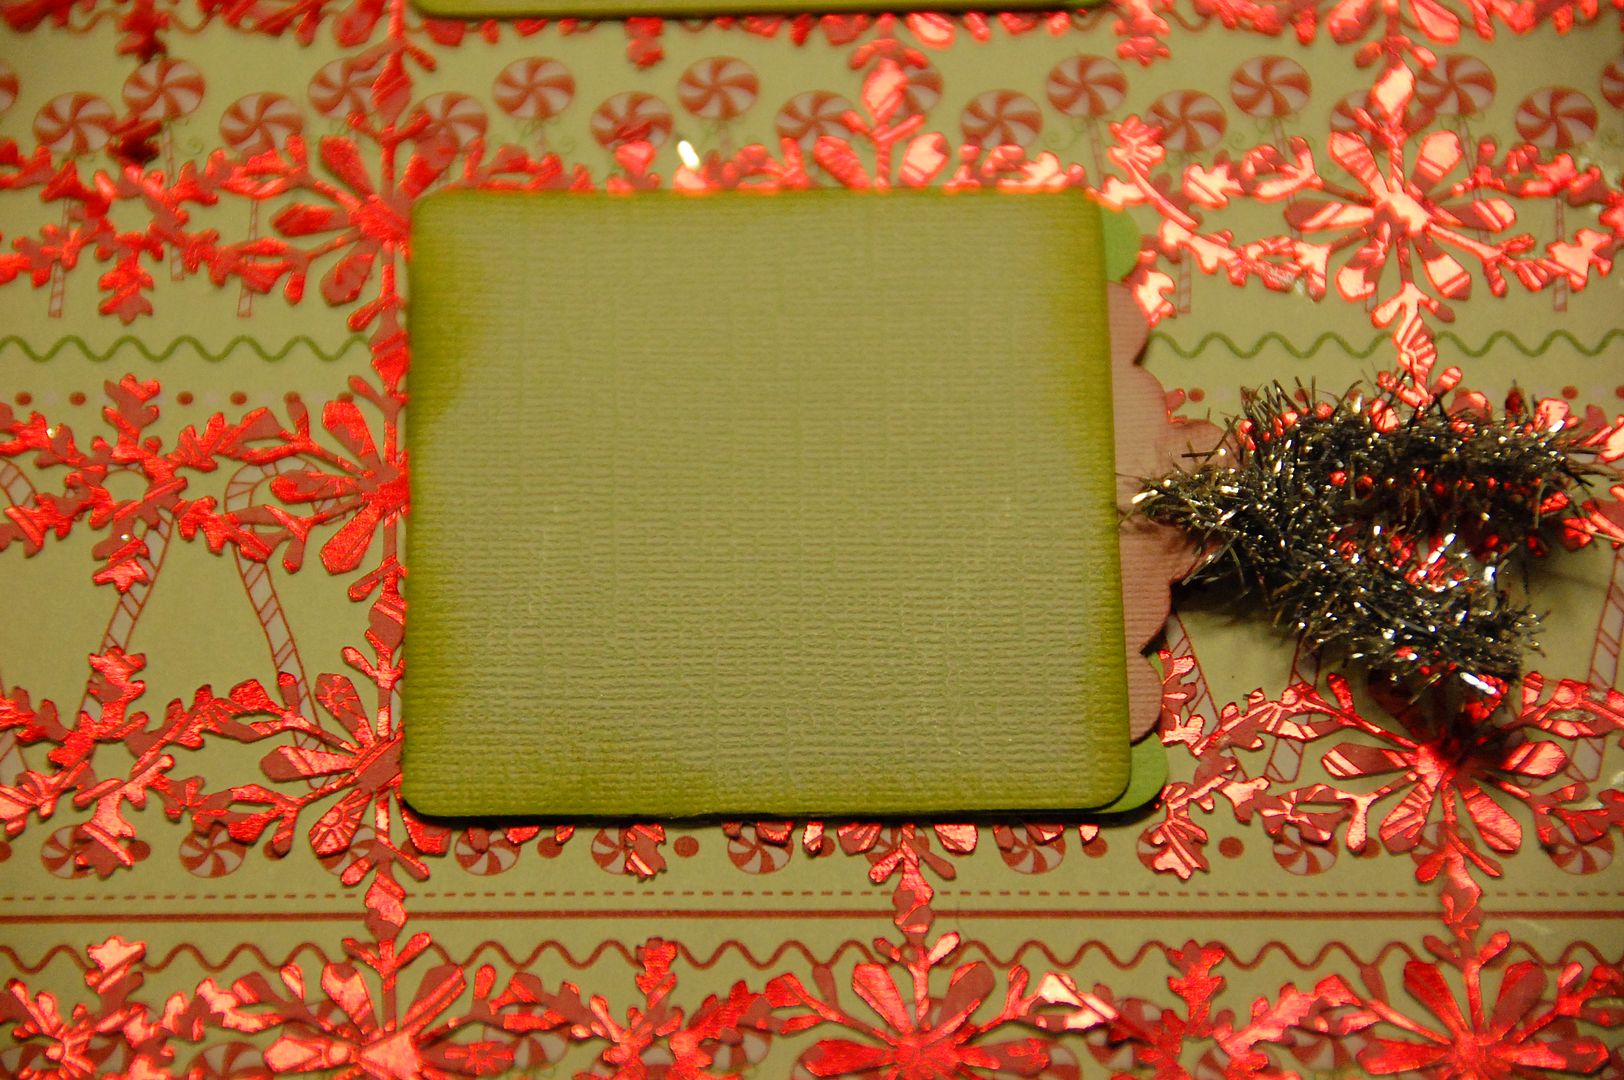
Here is a close up of the tag holder.
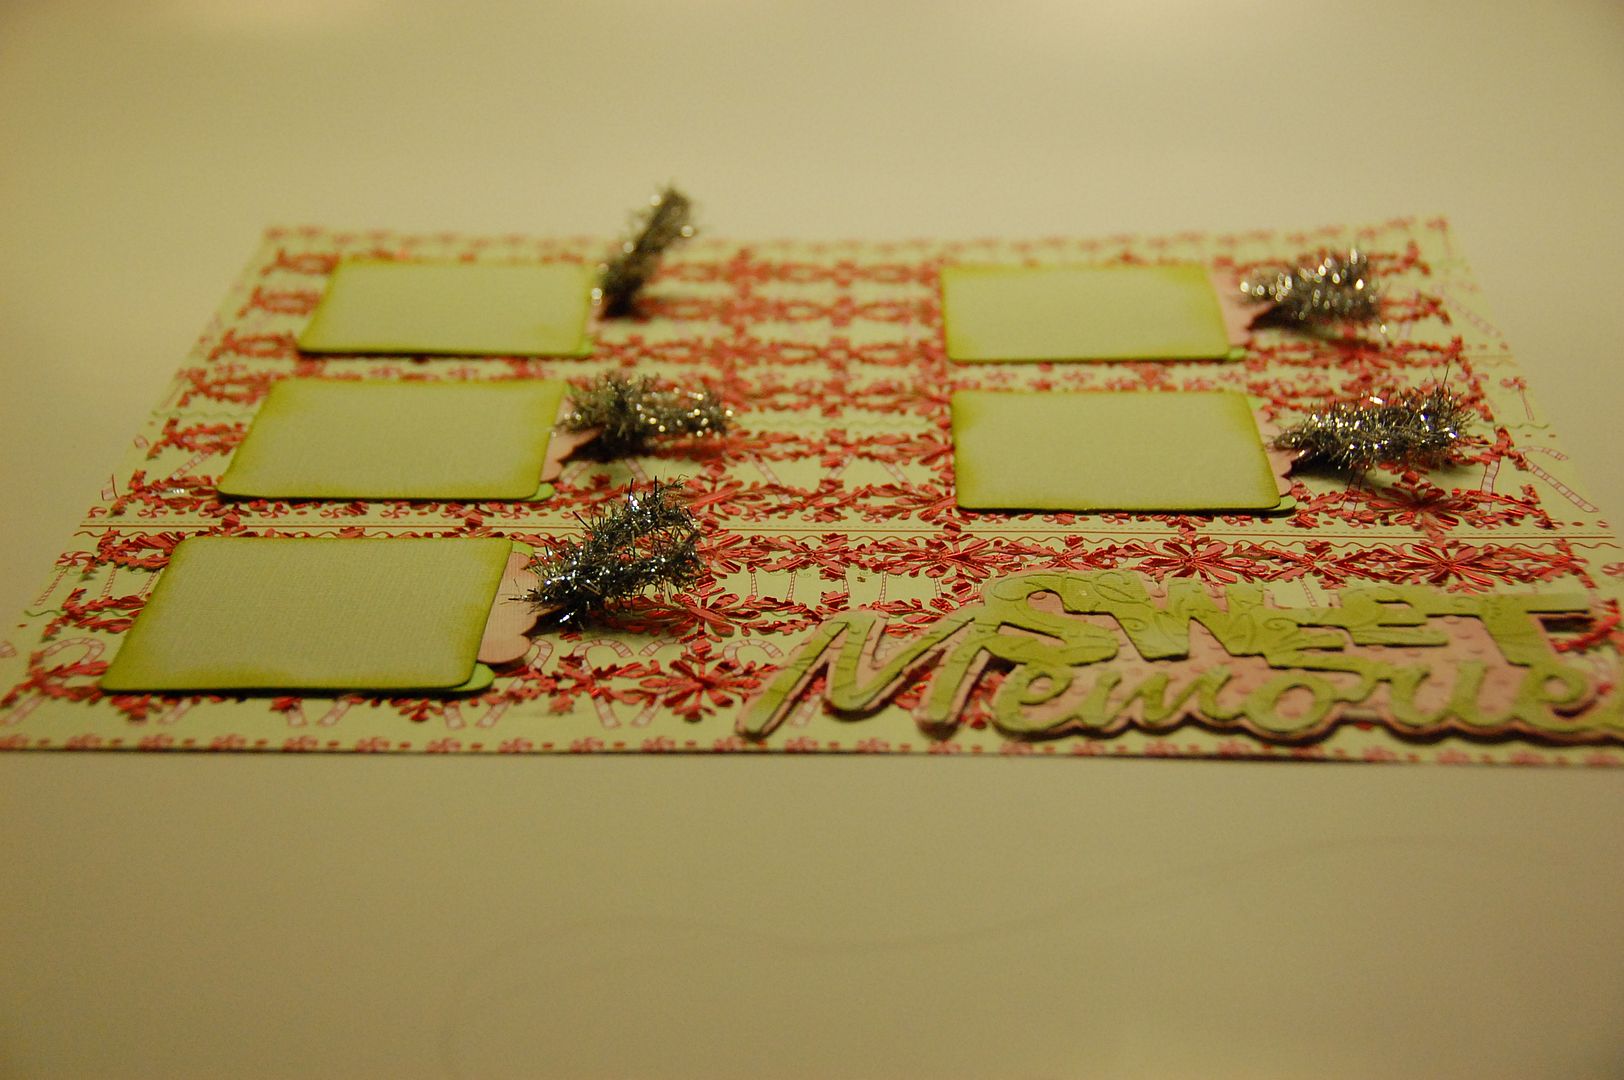
I am slowly gaining confidence in my ability to do a layout. I love that this layout can hold a lot of journaling and room for 5 pictures. I am going to use our family pictures we take this weekend during Gingerbread House decorating to fill it up! I am sure once I get done taking this pics, this will become a double layout!
If you'd like the free files for download, please visit my personal blog 217Creations. As always, we'd love for you to follow us here at She's a Sassy Lady and on my personal blog 217Creations.


8 comments:
What a beautiful layout. I love all the tags for journaling and that this page will hold so many photos. Perfect for holding all the details of the day. Thanks for sharing with us today.
I really like your layout. I'll have to try to remember to make hidden tags for journaling on my layouts so I can have more room for photos. Thanks for sharing this beautiful layout with us.
I like your layout and all the room you have for photos and journaling. TFS
Gorgeous!!! I love your lace snowflake paper!!! I also love the hidden journaling spots.
Beautiful LO! I love the way you included so many tags for journaling... something I really do need to do more of!
Barb :)
Love, love, love this layout!!! Love those hidden journaling tags! I am going to use that idea!! Thanks for always inspiring me to reach new heights in my creativity!!
I can't wait to try this with a new technique of inking the embossed part! Thank you for sharing this with all of us.
This is just beautiful!
Post a Comment