Hi everyone! This is Elizabeth from 217 Creations. I love learning! One of my favorite parts of our crazy craft world is all the new products and techniques. My latest adventure is Copics. In fact this is my first completed project using Copics. Let me know how you like this tutorial. If you want more in depth, just let me know since this is my first.
These are the colors I used.
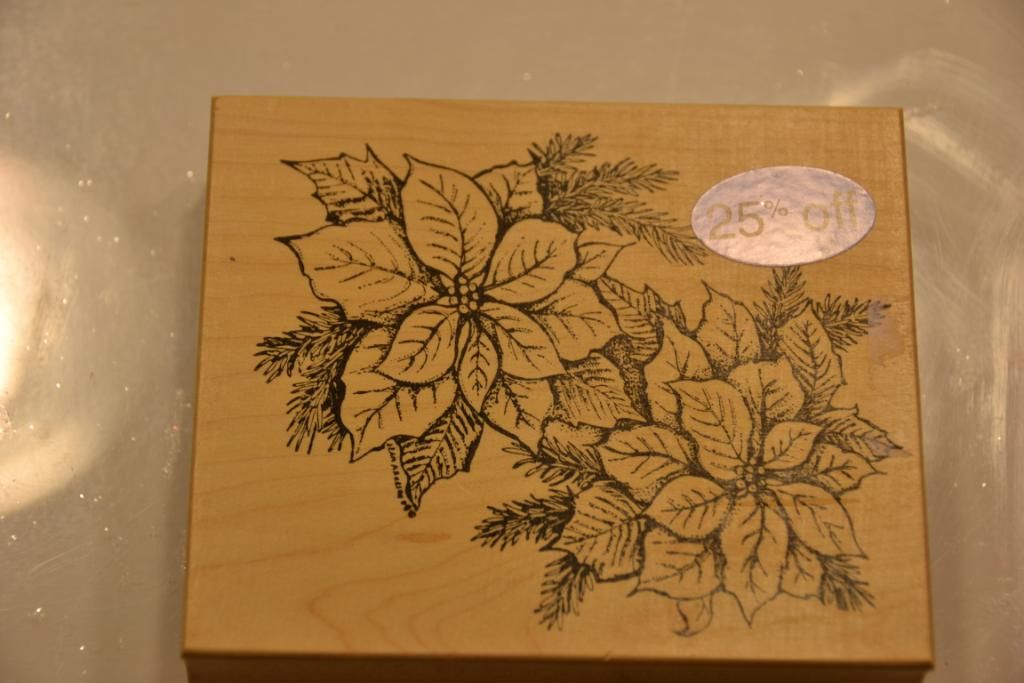
I started by stamping this image 3 times. It is from Northwoods Rubber. I bought this at Archivers awhile ago.
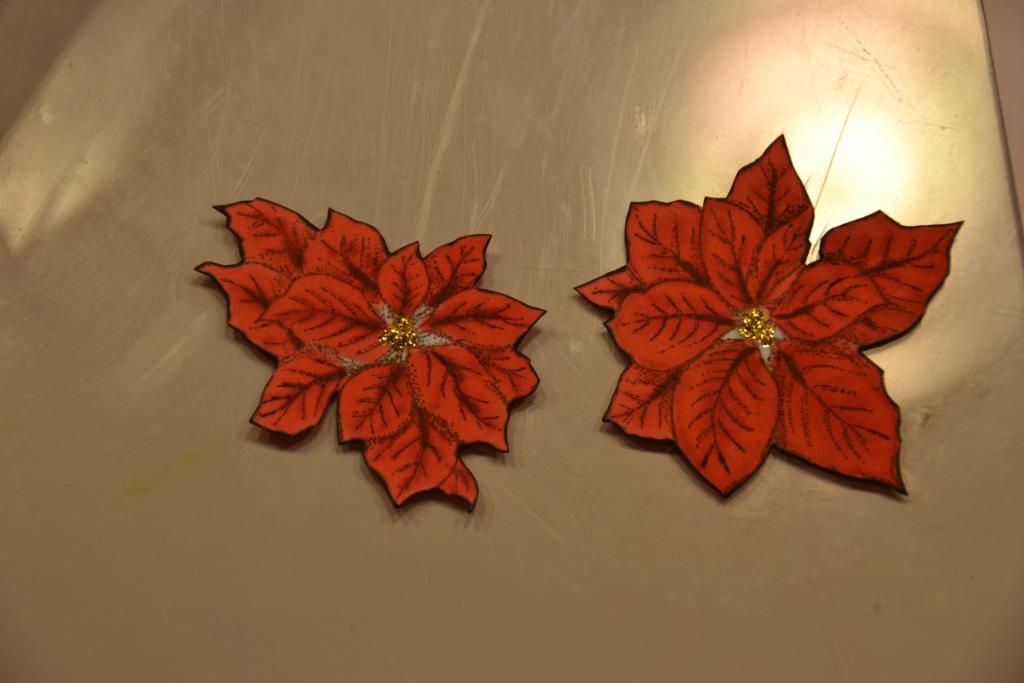
The first layer is colored lightly.
I then added my first on top of the second layer which was colored a slight bit darker. Finally I colored and cut the third layer a bit darker than the second.
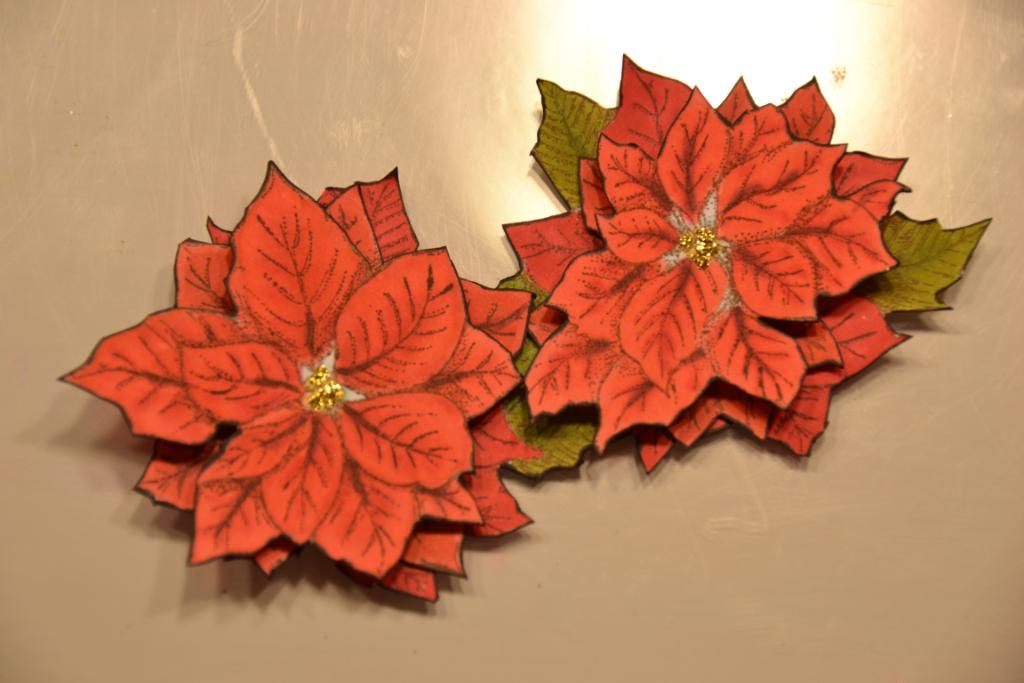
I then added the first and second layers to the base.
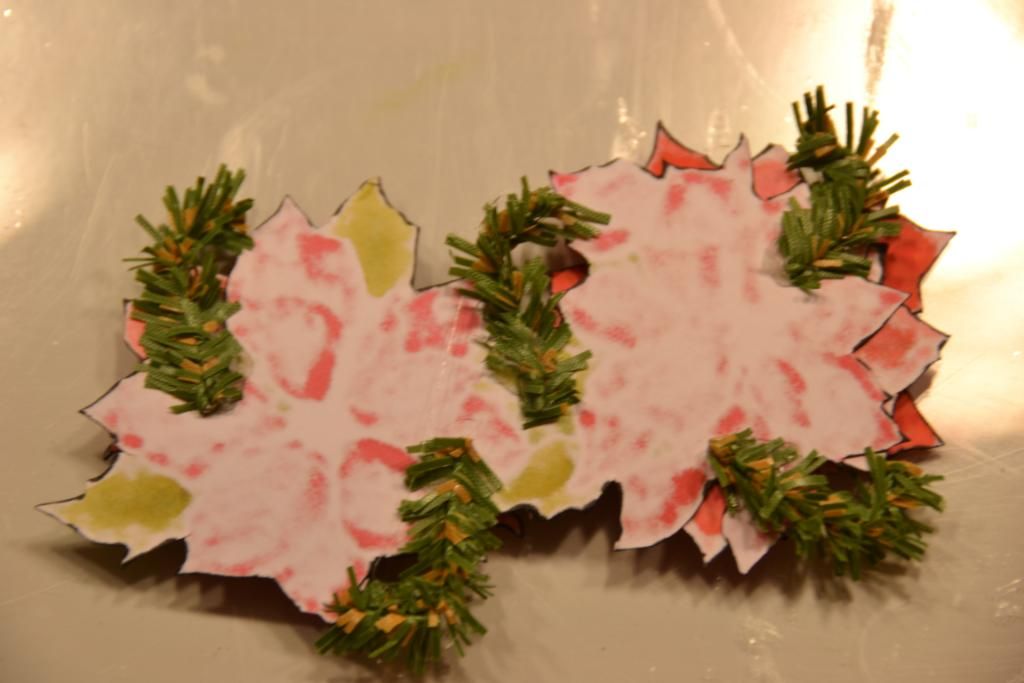
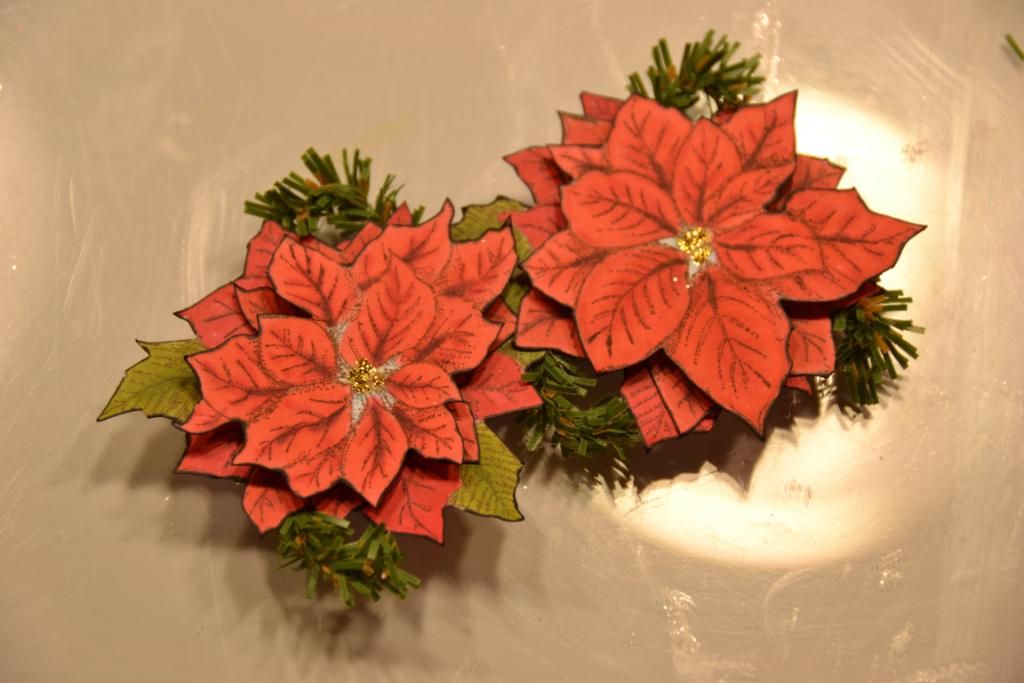
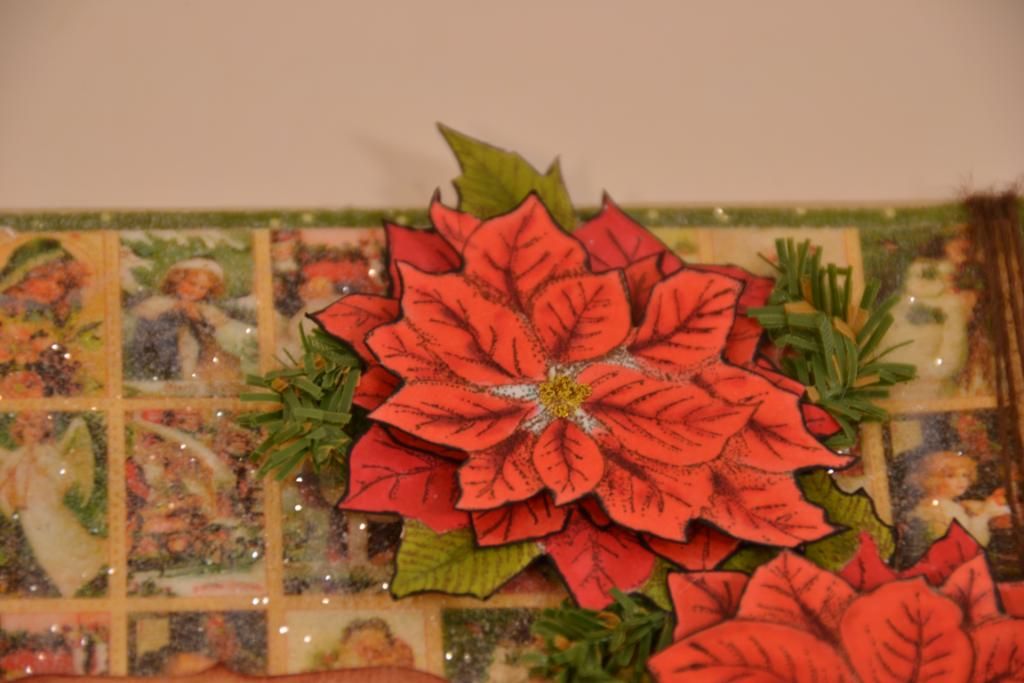
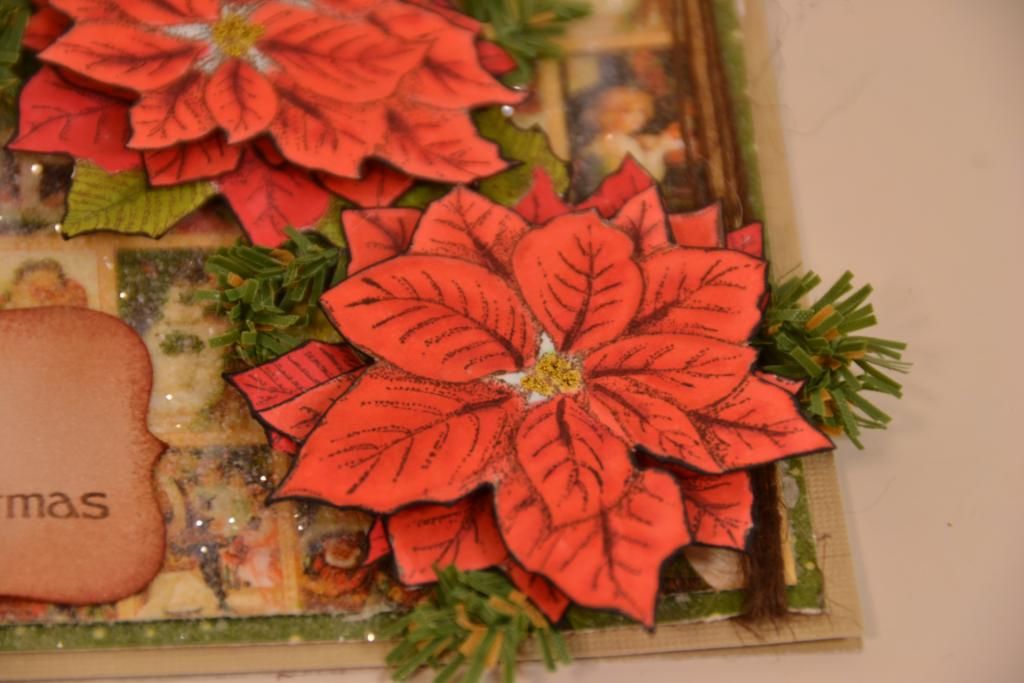
Next to add more depth, I flipped the poinsettias over and hot glued some pine looking branches. I bought these in February at Hobby Lobby. They are pipe cleaners that look like pine branches.
Doesn't it look great?!?!
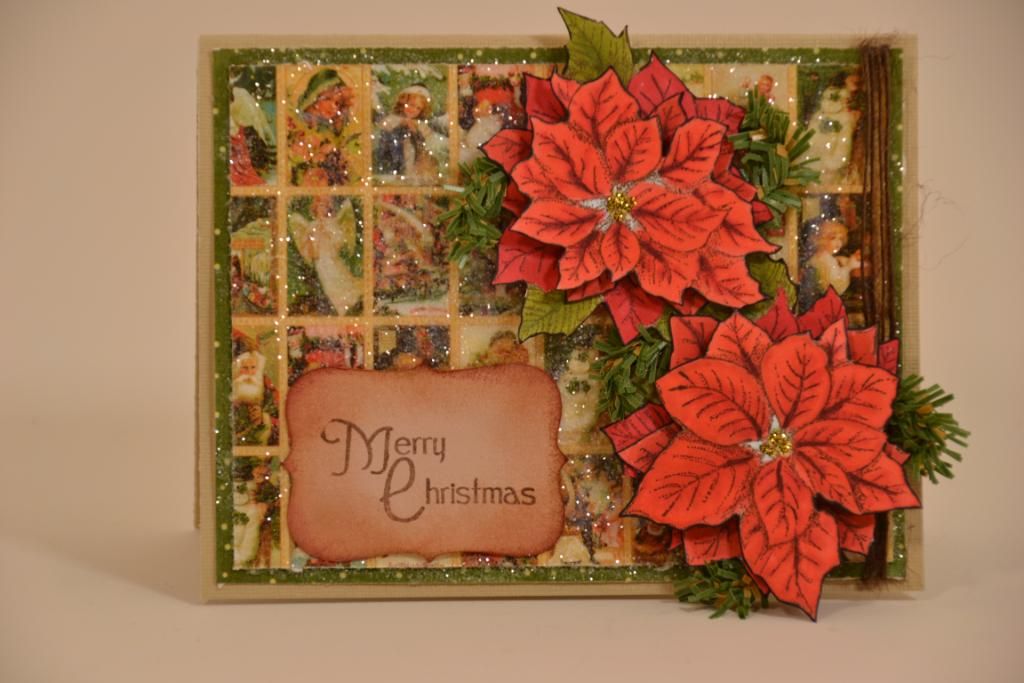
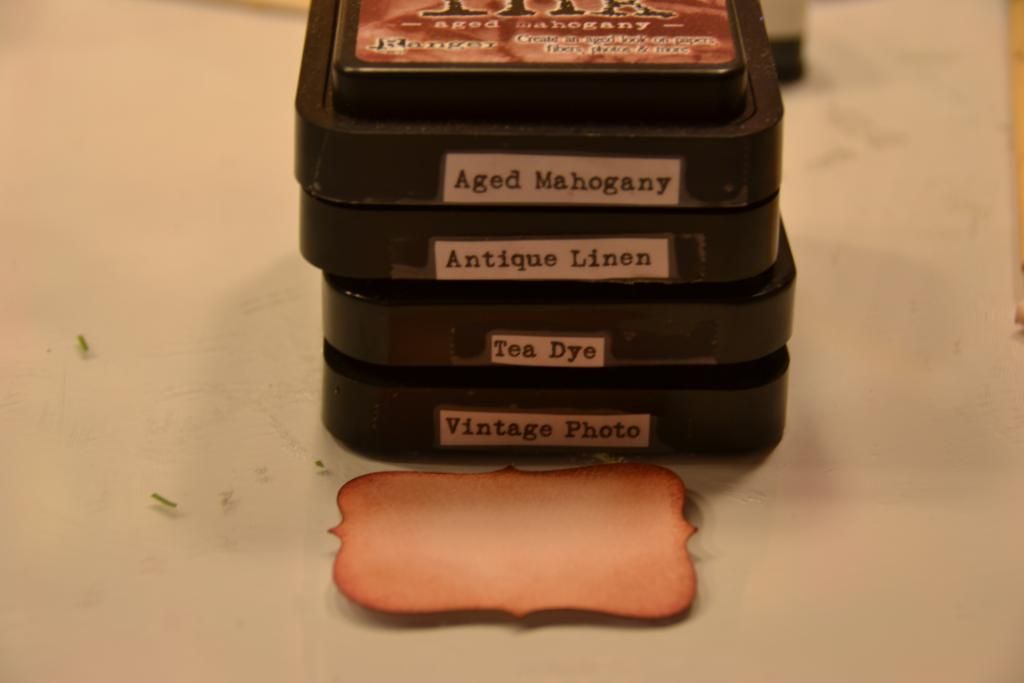
I then cut this top note shape form my Imagine. I then inked it with Distress Ink.
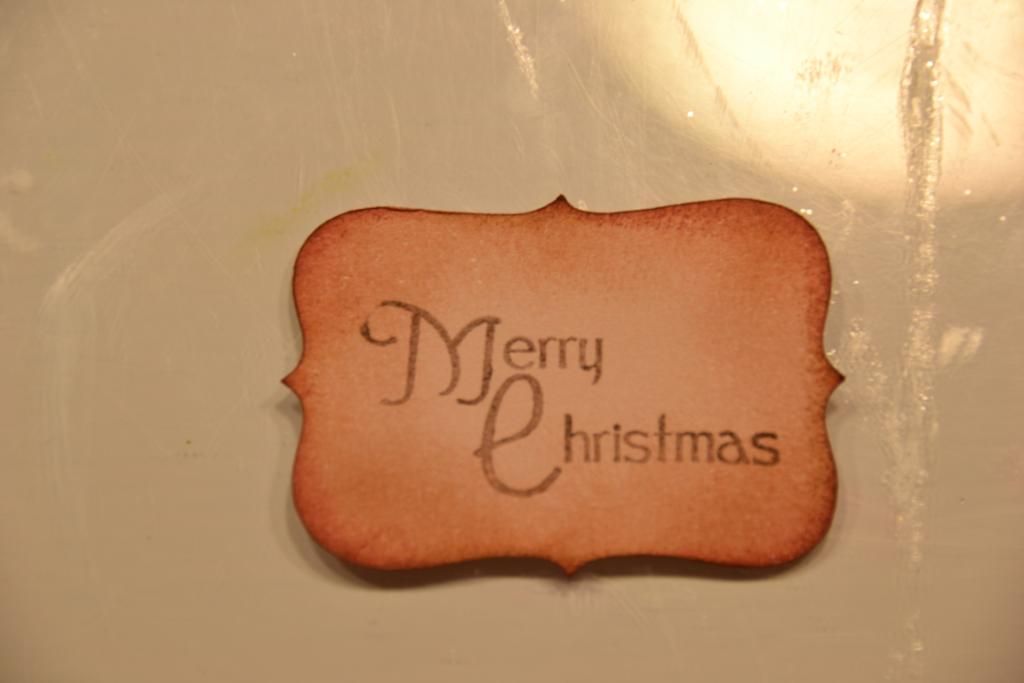
I then stamped this sentiment from Pink By Design Vintage Holidays.
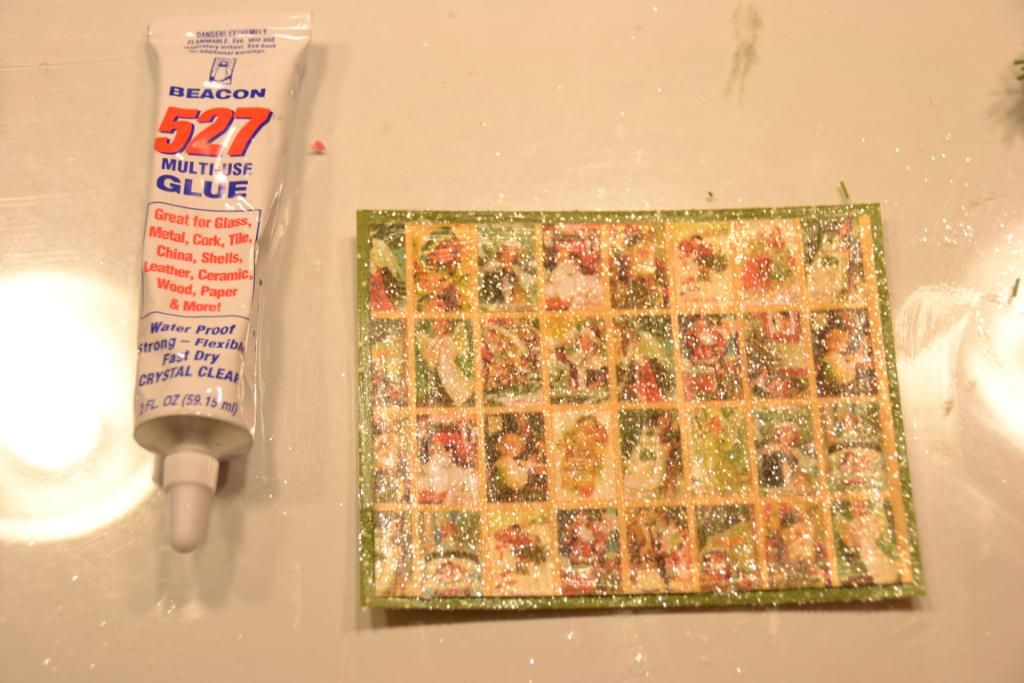
Next I used Glossy Accents to cover the mats for my card. After I spread a nice thin layer, I sprinkled Coarse Glitter all over and let dry.
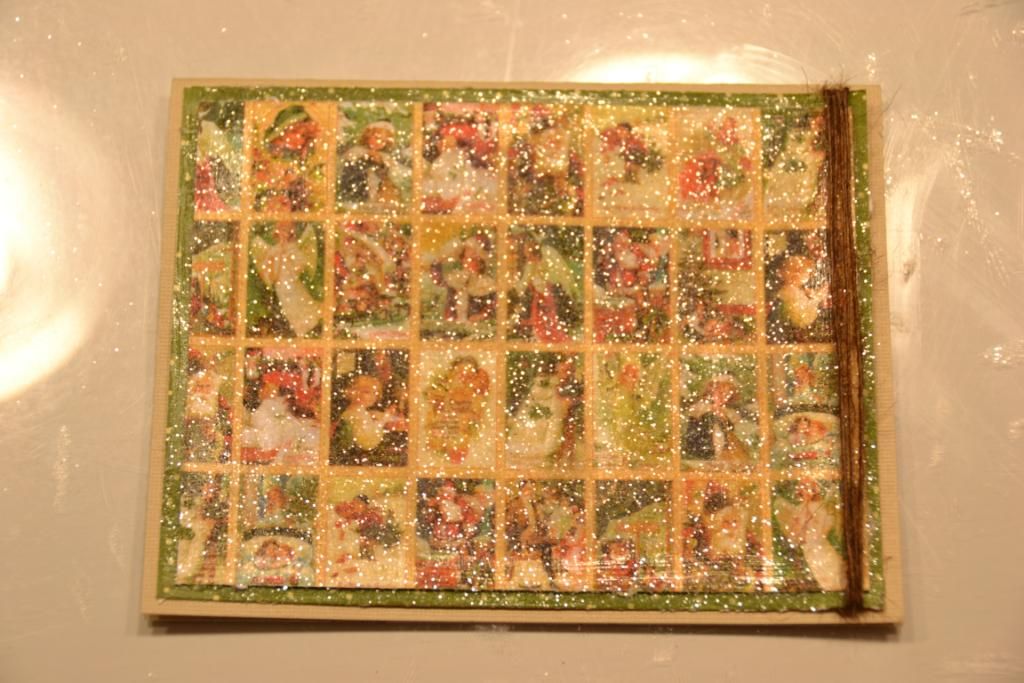
Then I used Beacon 527 adhesive to adhere the two layers together.
I wrapped twine around the edge of the card and mounted it to my A2 base.
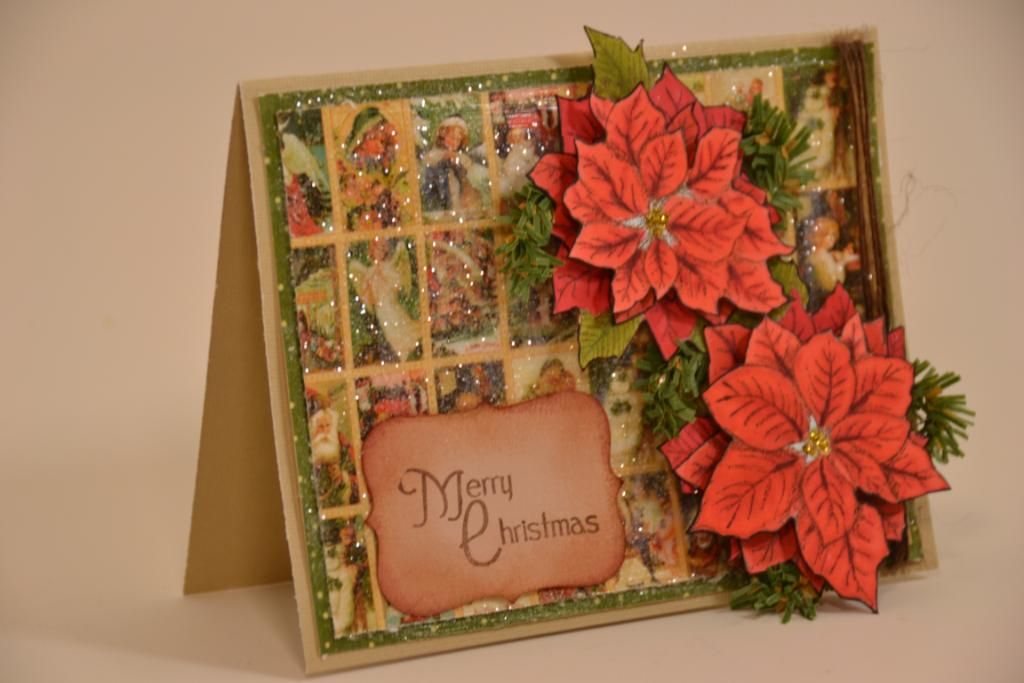
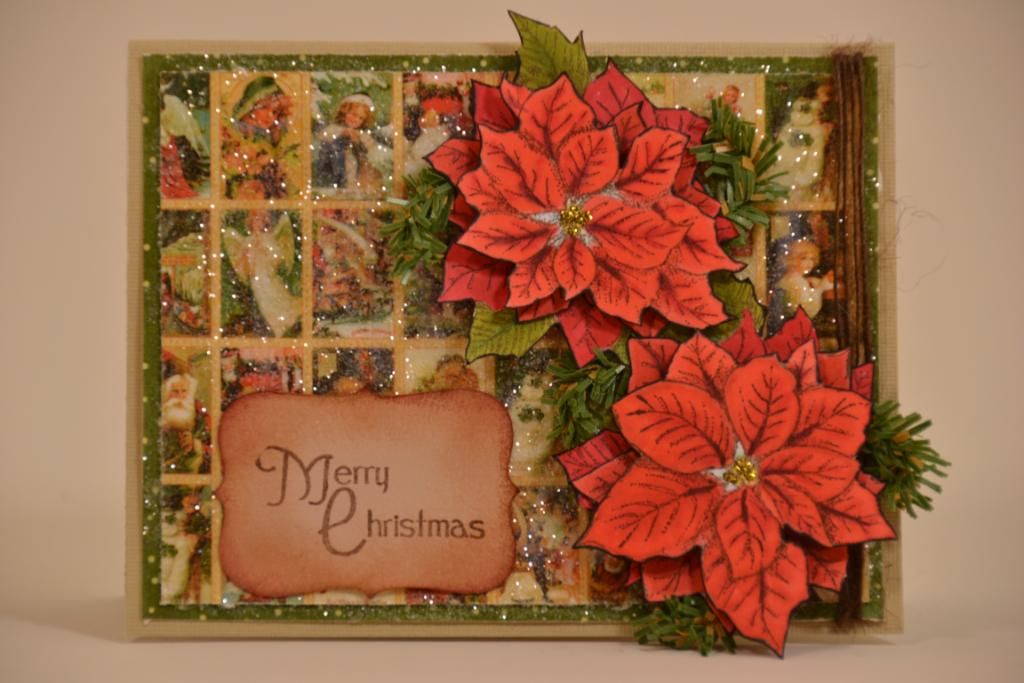
My final step was to add my top note shape and the poinsettias.
Here are some more angles. Remember you can always click to enlarge the pictures.
I hope you enjoyed this tutorial. As always thank you for reading and of course subscribing and following both here at She's A Sassy Lady and on my personal blog at 217 Creations.









19 comments:
What a stunning card!
Elizabeth this card is GORGEOUS!!! I love everything about it. I understand what you mean about the desire to learn more techniques and I too have been eyeing the copic markers and know that someday I will own a set of them... A card like this just confirms my desire to buy them. Just amazing your card is just amazing. Thanks for sharing with us today.
Elizabeth your card and tutorial are both awesome. My city is named the Pointsettia City so I love the flower. When people talk about Copics I try to cover my ears and sing lalala but you make it awful hard. Stunning job!
So pretty. I have the copics but have a hard time blending with them. I need to get them out and try again.
great card!, will you be doing anything special for back to school this year?
Beautiful card!!
Beautiful, just beautiful!!! I hope to own some copics someday! Thanks for an awesome tutorial!!
What a beautiful, beautiful card! Love the colors and the texture. TFS
Gorgeous Card Elizabeth!
The pointsettias are jsut lovely. This card is beautiful. TFS
Wow! Elizabeth, you've outdone yourself on this one! The dimension is amazing. I'll have to try the glitter and glossy accents idea. Thanks for a great tutorial.
Hugs,
Simply a masterpiece.
Hey Elizabeth!!! Beautiful card...I've only used my Copics a couple of times (& know that the more you use them, the better you get) & am always happy for tips & suggestions!
Sheila, I need help. I have tons of files on my Gypsy and I cannot access them. Is it possible to do this? Maybe I am doing something wrong.
Please email me your phone number so I can talk to you.
shesasassylady@gmail.com
I will call as soon as I have some free time. I am at work now.
Elizabeth, as soon as I saw this on my reading list, I knew it was you!!! You just have a style all your own!
This card is amazing -- just so beautiful!!!
P.S. I really-really I could use those copics!!! My coloring seems to only get worse each time I try! LOL!!! Love Graphic 45 everything!!!
This is so beautiful! Great job with this.
OMG! Gorgeous, Gorgeous, Gorgeous!!! I am SO excited! I have this stamp!!!!!!! YAY! Can't wait to play! TFS!
This is a gorgeous card!
Post a Comment