


+

Good Day! This is Sheila and today I get the privilege of sharing with both you Bugs Byte and She's A Sassy Lady followers.
Ever since Provocraft came out with the E2 I have been fascinated with the Tri-Fold Card. I quickly decided not to use up a couple of months of my scrap budget to purchase the E2 however I had to have that Tri-Fold Card!
The card presented some interesting design challenges for me yet I am getting pretty good at altering my template and quickly coming up with a new design for any given occasion. I did just that with this card but ran into a few challenges along the way in cutting and thought I would just go through those, so as you make your cards you can hopefully alleviate those same mistakes and whiz through your card.
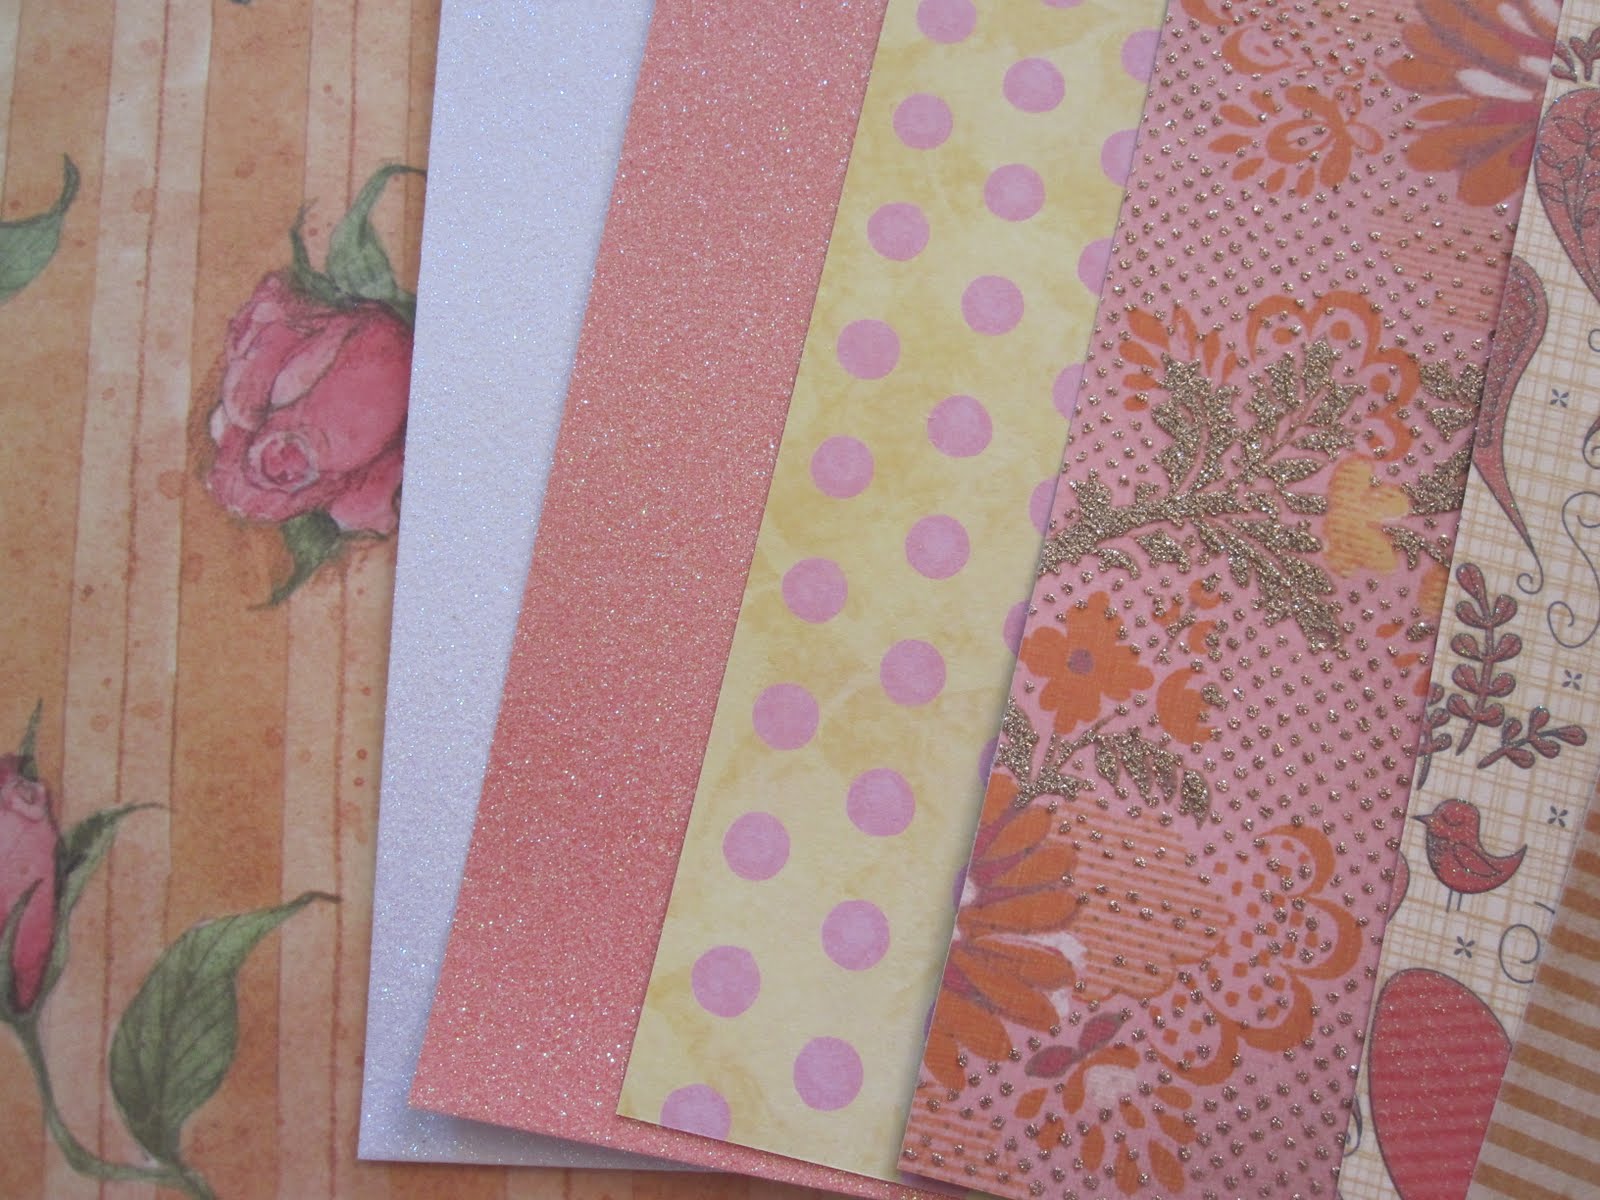
Look at these yummy papers I picked out. Only the bottom sheet was a full sheet of paper and it was from K and Company. The rest of the papers were all left over pieces from various vendors. I was so happy that I had so many sparkly piece left.

I just love this base paper and it really made all the colors of the card come together.... this was my blunder though.... I forgot that we are looking at the inside of the card in this photo. That is how I designed the card so when you are laying out your mat remember you are looking at the inside. See I had a perfect cut but I forgot to flip my paper and the opposite side was too pink for my elements so I had to re-cut the base of the card.

I thought I would show you how some of my other elements were laid out. this however was my second mistake. I mixed paper depths and that created a problem as it didn't cut through on the center piece so I had to run it through again. Because I was using scraps another design had to be used. Again remember to plan carefully.


See how only parts of the cut made it. Now I must caution you if this happens you can always take off the other elements and re cut just remember DO NOT SAVE the work or they will be gone.


Then I scored my card and folded the flaps. Now you need to know I did not make score marks but you can easily see where the sections meet, score and fold there.

I have a busy schedule this week getting ready for out of town guests so I placed each card and all the pieces in a little Ziploc bag so nothing would get lost while I was waiting for a few extra minutes to put this together.


The first thing I did was put the elements together. After adhering the pieces of the cupcake together I stickled the frosting to make it look like sprinkles.


I then adhered the tassel at the top of the hat. Isn't this paper awesome?


Then I put together the little horn. After it was dry I stickled the paper part that would move when you blow with pink stickles. This gave it a polka-dot effect and made it sparkle too like the rest of the paper.

I then proceeded to put the card together. And this was so simple after all the elements were together. I adhered the Happy Birthday first and then moved on piece by piece until the card was complete.


Thought you might like to see the card straight on with both flaps closed, don't you just love that layered look? I like that it gives plenty of opportunity to write on the inside.

Even when it is laying down this card looks good. Don't you just want to pick it up and look on the inside?


I hand cut the sentiment area the same and attached to the inside of each flap. This offers plenty of room to get personal and write a special note. I also thought that for the right flap you could turn it in to a little pocket to hold a check, cash or a card.


That hat is so unique with this paper.

And one more glimpse of the completed card. I sure hope you liked today's project. If you would like the free Gypsy file, just click HERE.
I just love these Tri-Fold cards and hope you enjoyed learning a little more about them. Thank you for your sweet sweet words of encouragement. Your comments continue to inspire me to share with you.


25 comments:
Wow, Sheila! I love everything about this card. Color, cuts, design all of it. This has to be one of my favorites.
Thank you Shiela. The tri-fold card is adorable. I don't have that cartridge but will try and substitute what I have. You're so kind to share.
Another absolutely beautiful card!! Whoever receives that card is sure to feel mighty special!!!
I am just addicted to these tri-fold cards since you started making these....
this one is super cute...
TFS!!!!
Sheila, love the papers you chose for your card! The card is just wonderful! TFS!
This is so pretty. I just love all the sparkle! TFS
Sue
I know whoever gets this card will just love it. The colors are so yummy.
Oh my Sheila, This is just drop dead gorgeous!!! I love every bit of it. The papers you chose are just perfect and the way it all goes together is beautiful. I especially love all the stickles on the card. Hope you are having a fun time with your guests.
Charlotte
Sheila... you always make the most complicated cards look easy! This is beautiful!
barb :)
Just a quick note to let you know that a link to this post will be placed on CraftCrave in the Cutting category today [03 Aug 01:00am GMT]. Thanks, Maria
Beautiful card.Thanks for your file and the great directions.
plepoma@aol.com
Your designs make everything so easy! Thanks for sharing your file and hard work thru trial and error. I definitely plan to use it.
This card is stunning. Love the paper choices you made and to think they are of scraps! Wow I have to take a second look at my scraps. TFS
Sheila these are gorgeous!!! What YUMMY papers and of course a beautiful design! Thanks for sharing!
Hugs,
M
Beautiful cards Sheila!! I love how you organize your supplies and maximize your time. I do it backwards...I design several projects on the go then spend a chunck of time cutting and assembling at home!
Beautiful tri-fold card - I may have to try one!! I love the gorgeous papers you used and the glitter!
Kimberly
My Craft Spot
What a fabulous card! You are right - those papers are amazing! Great job with the glitter, too!
Thanks so much for playing along at My Craft Spot!
Kate
Small Bits of Paper
Wow, your card is super cute. I love all the colors, so pretty. Great job! Good luck. I am now a follower.
Kellie
kardsbykellie.blogspot.com
What a GORGEOUS card!
Beautiful card !! I love the papers you used and all the fun details ! Thanks for playing along at My Craft Spot !
Joy
OMG! What can I say! This card is just so amazing, it is just beautiful. Thanks for joining the challenge at My Craft Spot.
Absolutely beautiful! I love all the glittery details! Thanks for the smile today and thanks for playing along with us at My Craft Spot!
Amber
This is beautiful!! I love the colors and the lovely papers. Thanks for joining us this week at My Craft Spot.
Hugs,
Amy
Scrapping Mommy
This is such a beautiful card Sheila! love the design and paper combination you chose!
Sheila I am doing the Thursday Tutorial for Fantabulous Cricut Challenge Blog this Thursday the 25th for the first time. Our challenge this week is "Birthday Bash" and I have included a link to your Birthday trifold card. Hope you enjoy!
Post a Comment